Assembling and cable management
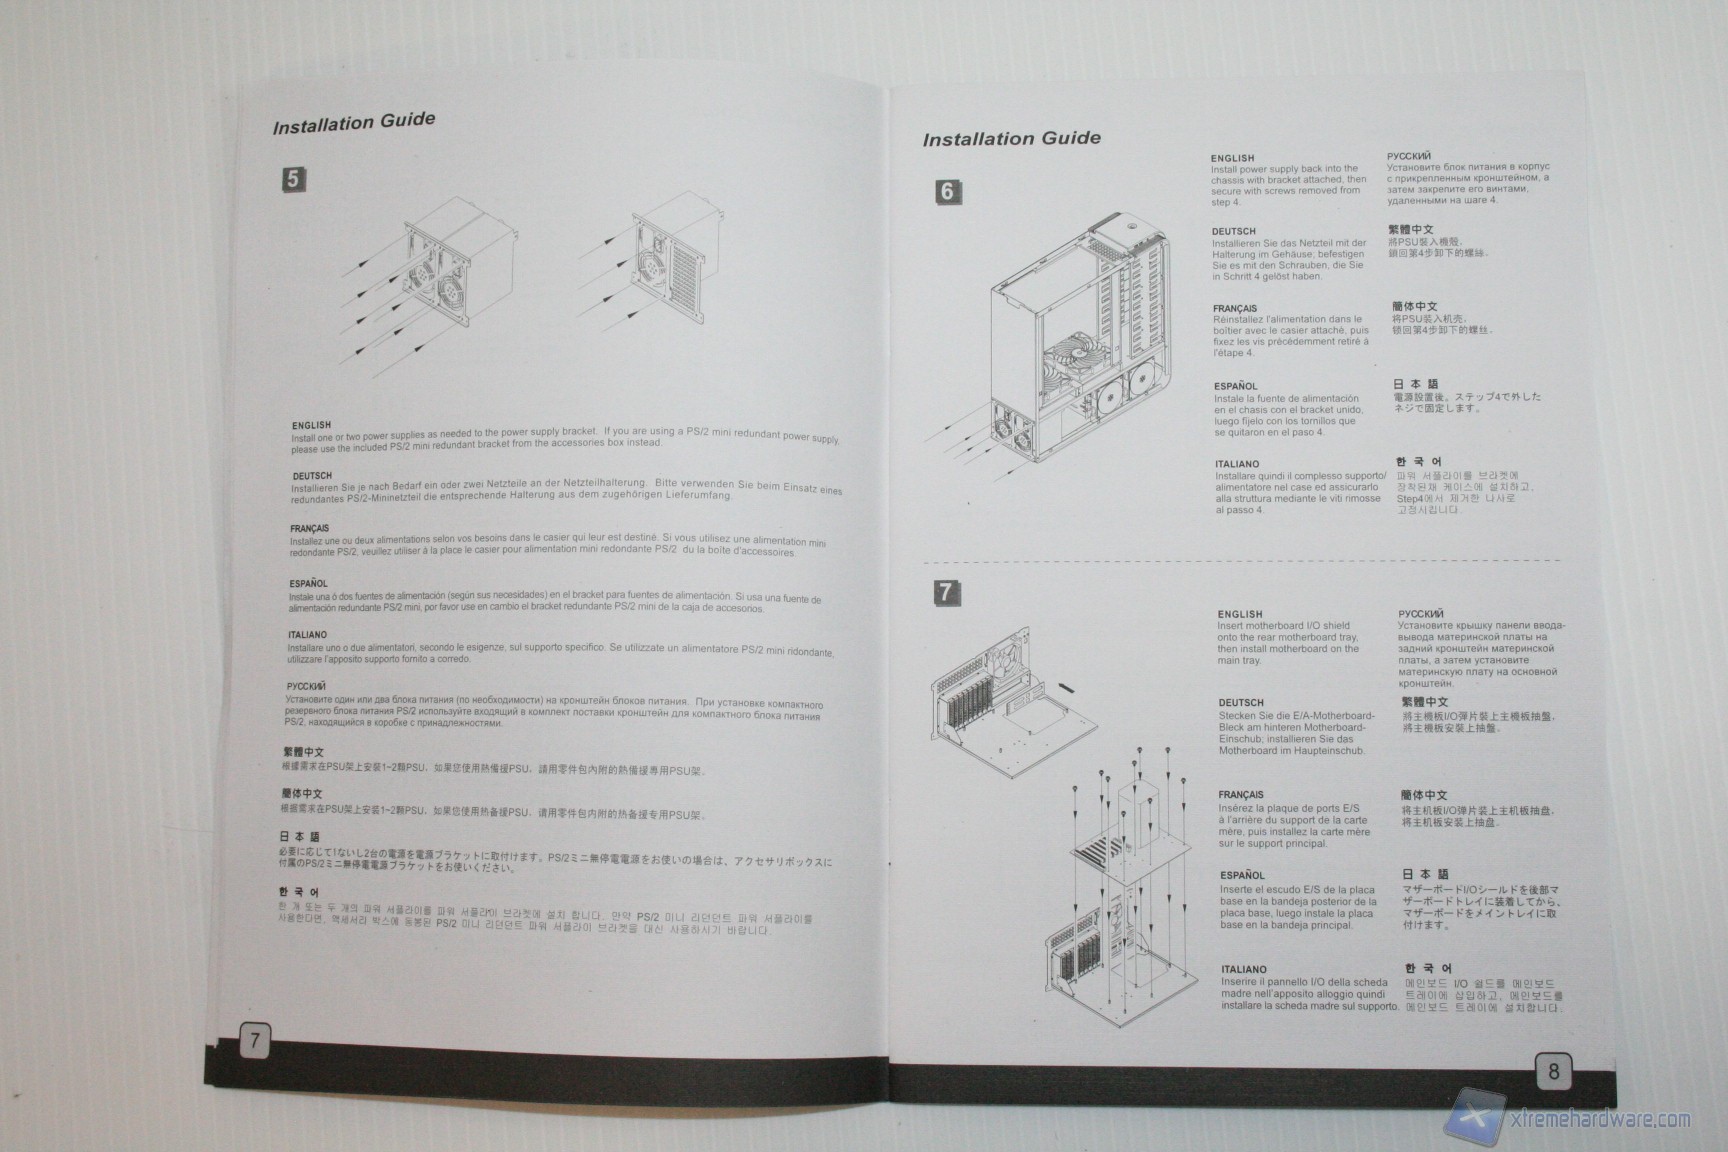
In this section we will analyze the mounting of an Intel system and the consequent rear and front cable management. Even for novice users, the procedure is very easy: you will first need to mount the power supply in the bottom part of the cabinet by removing the aluminum panel. If you want to install a redundant PSU, you should use the connector provided in bundle by SilverStone. Unfortunately, once installed everything, it is difficult to pass the additional 4/8 pin power connector for the motherboard through the top opening on the right. We suggest using an extension cable or mount it on the front.
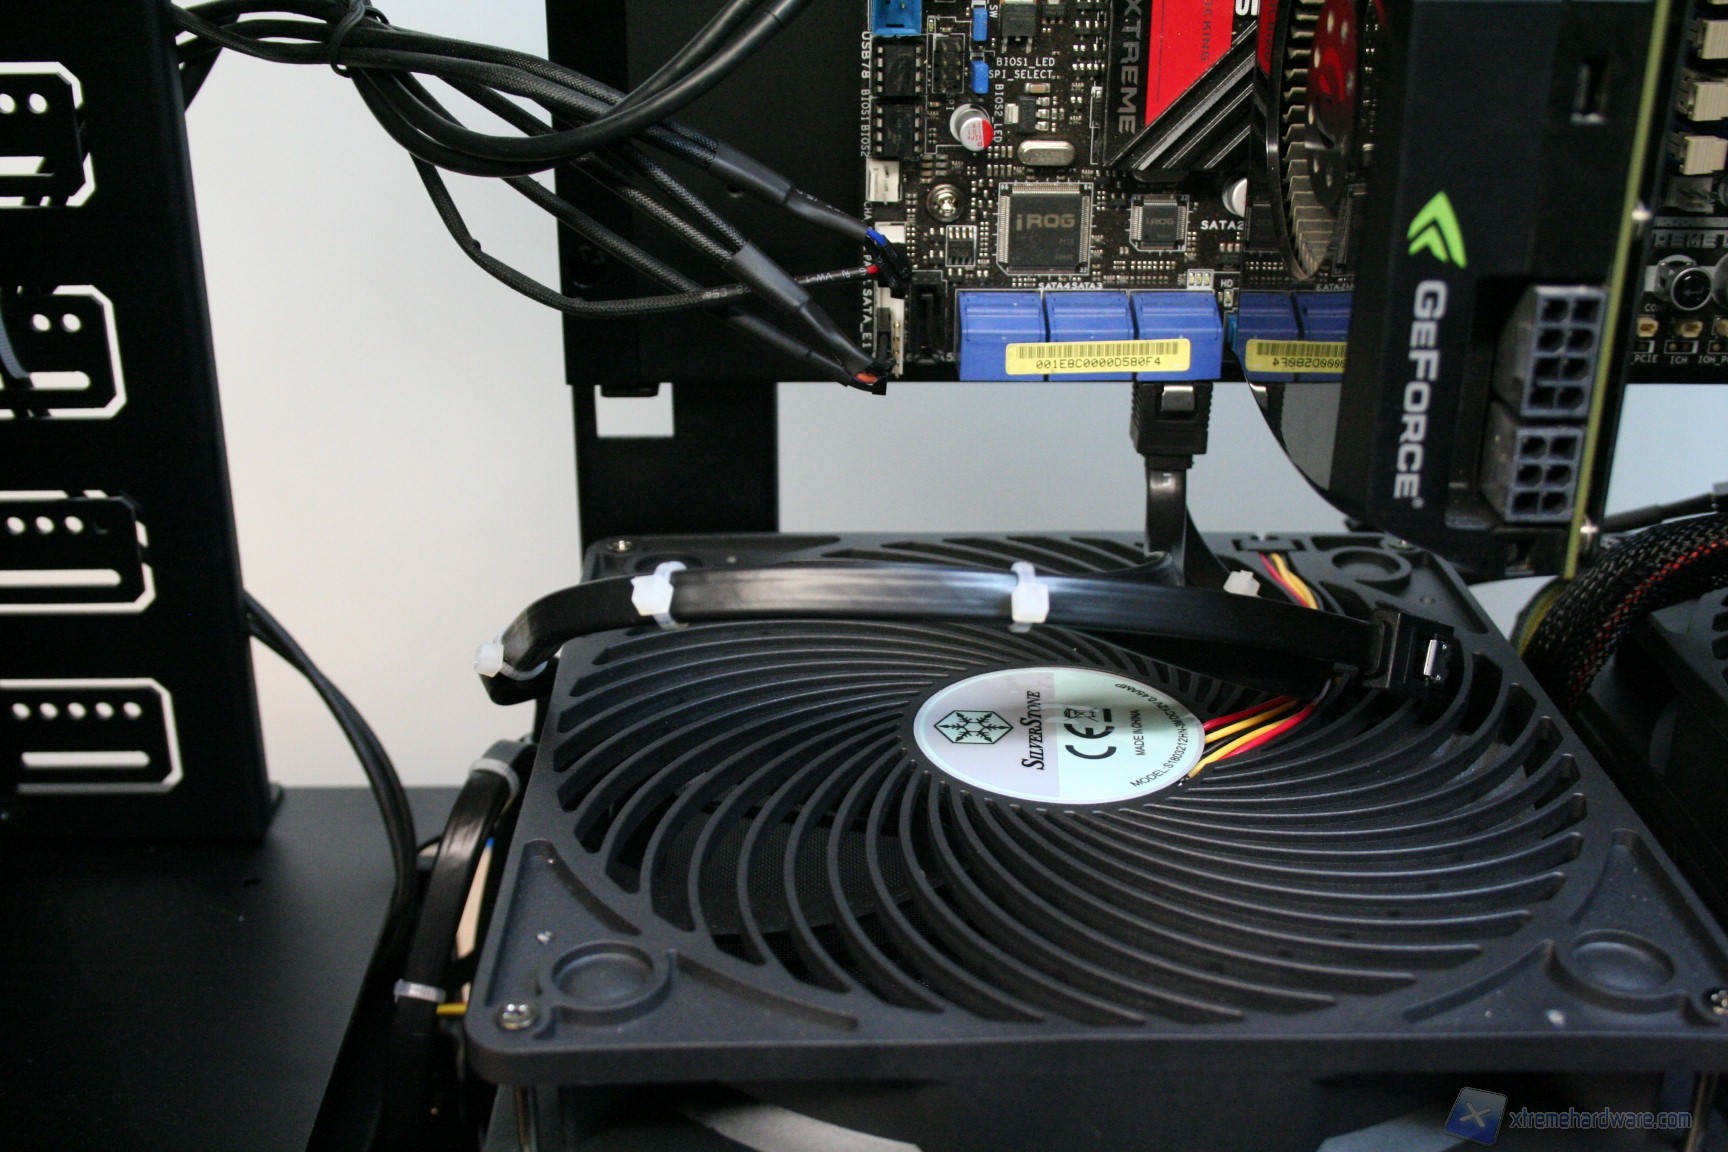
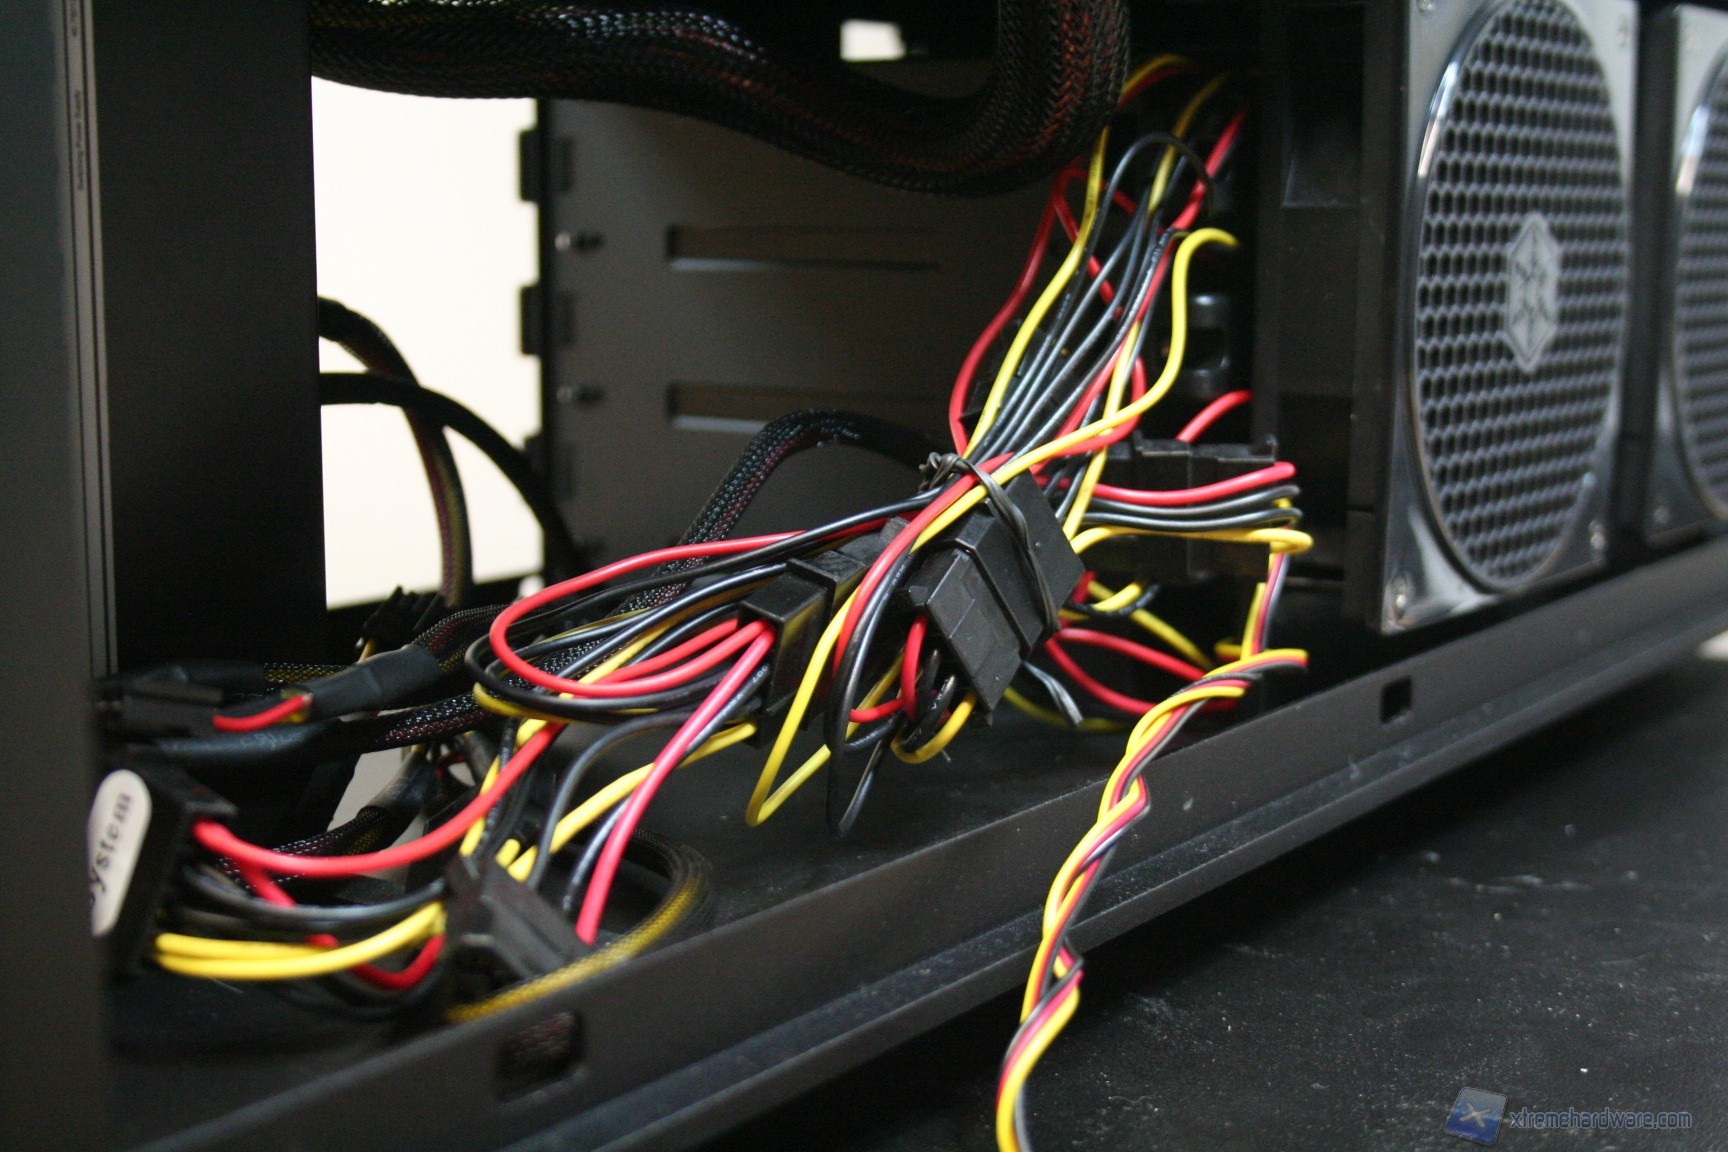
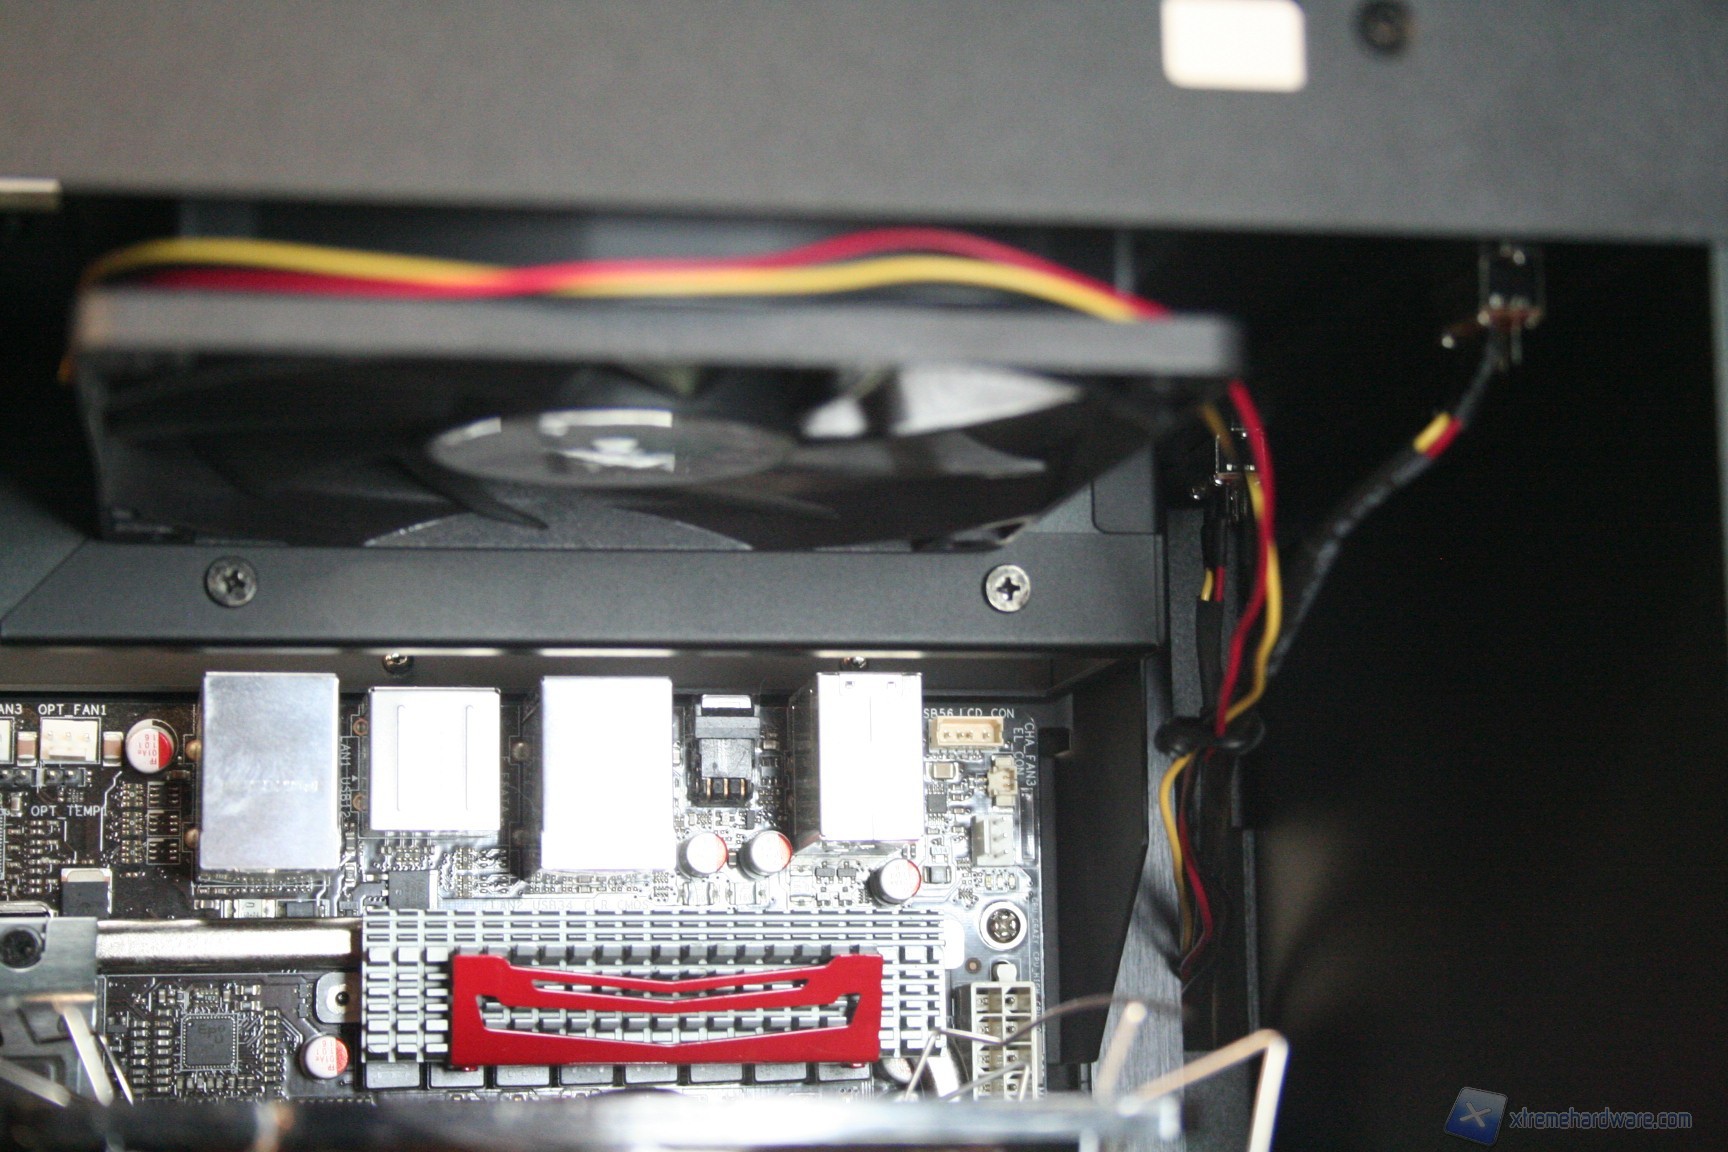
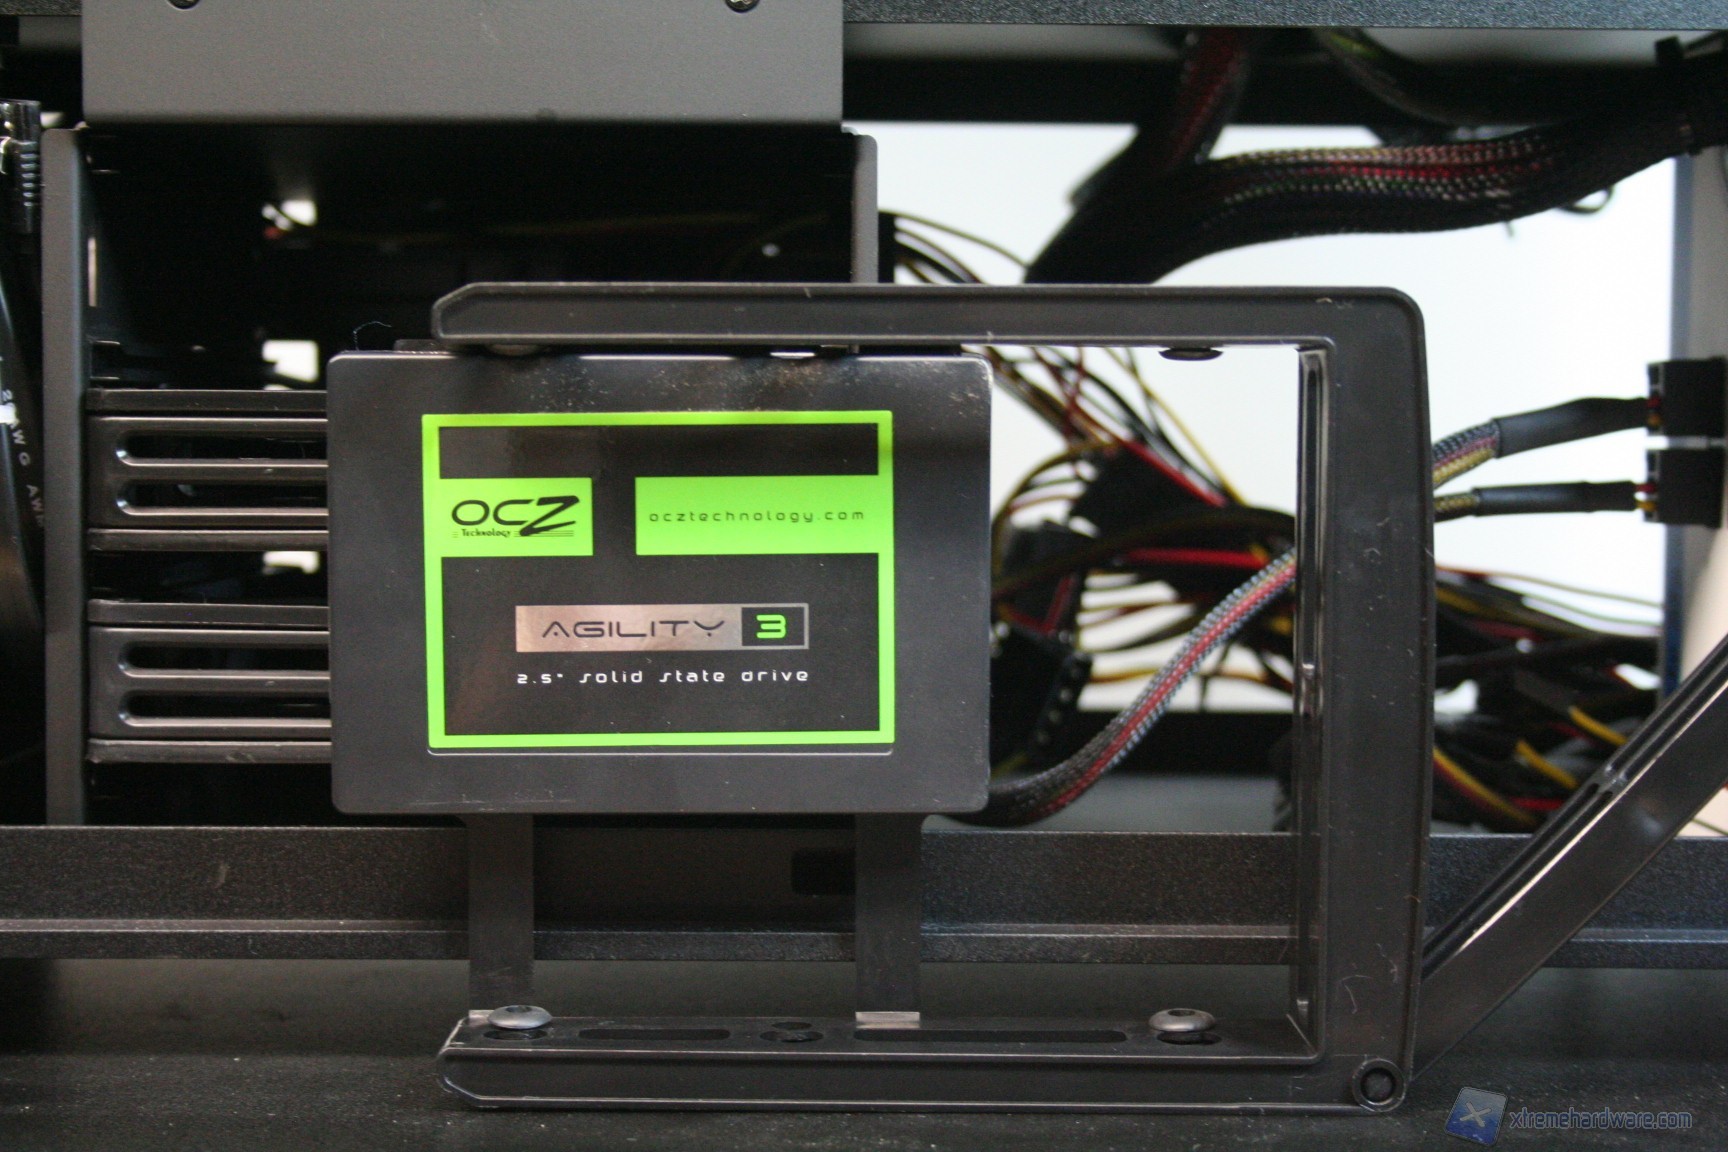
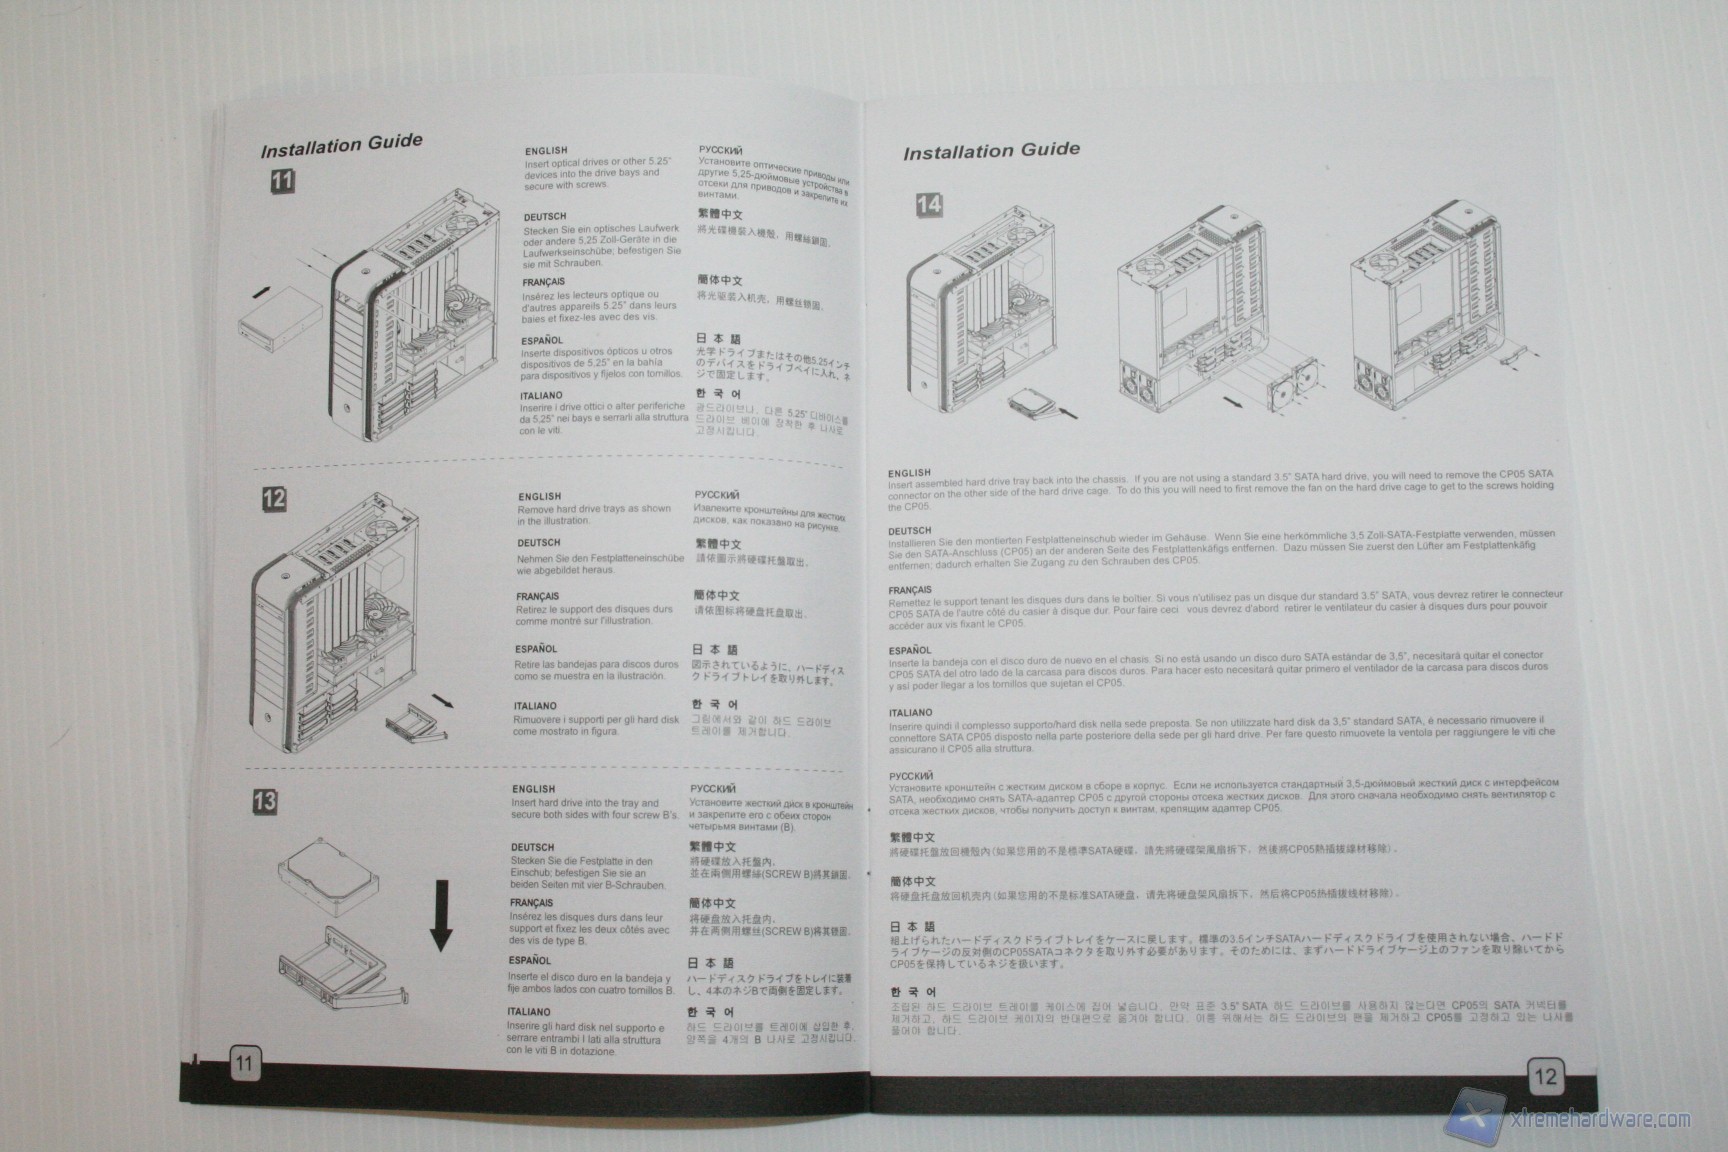
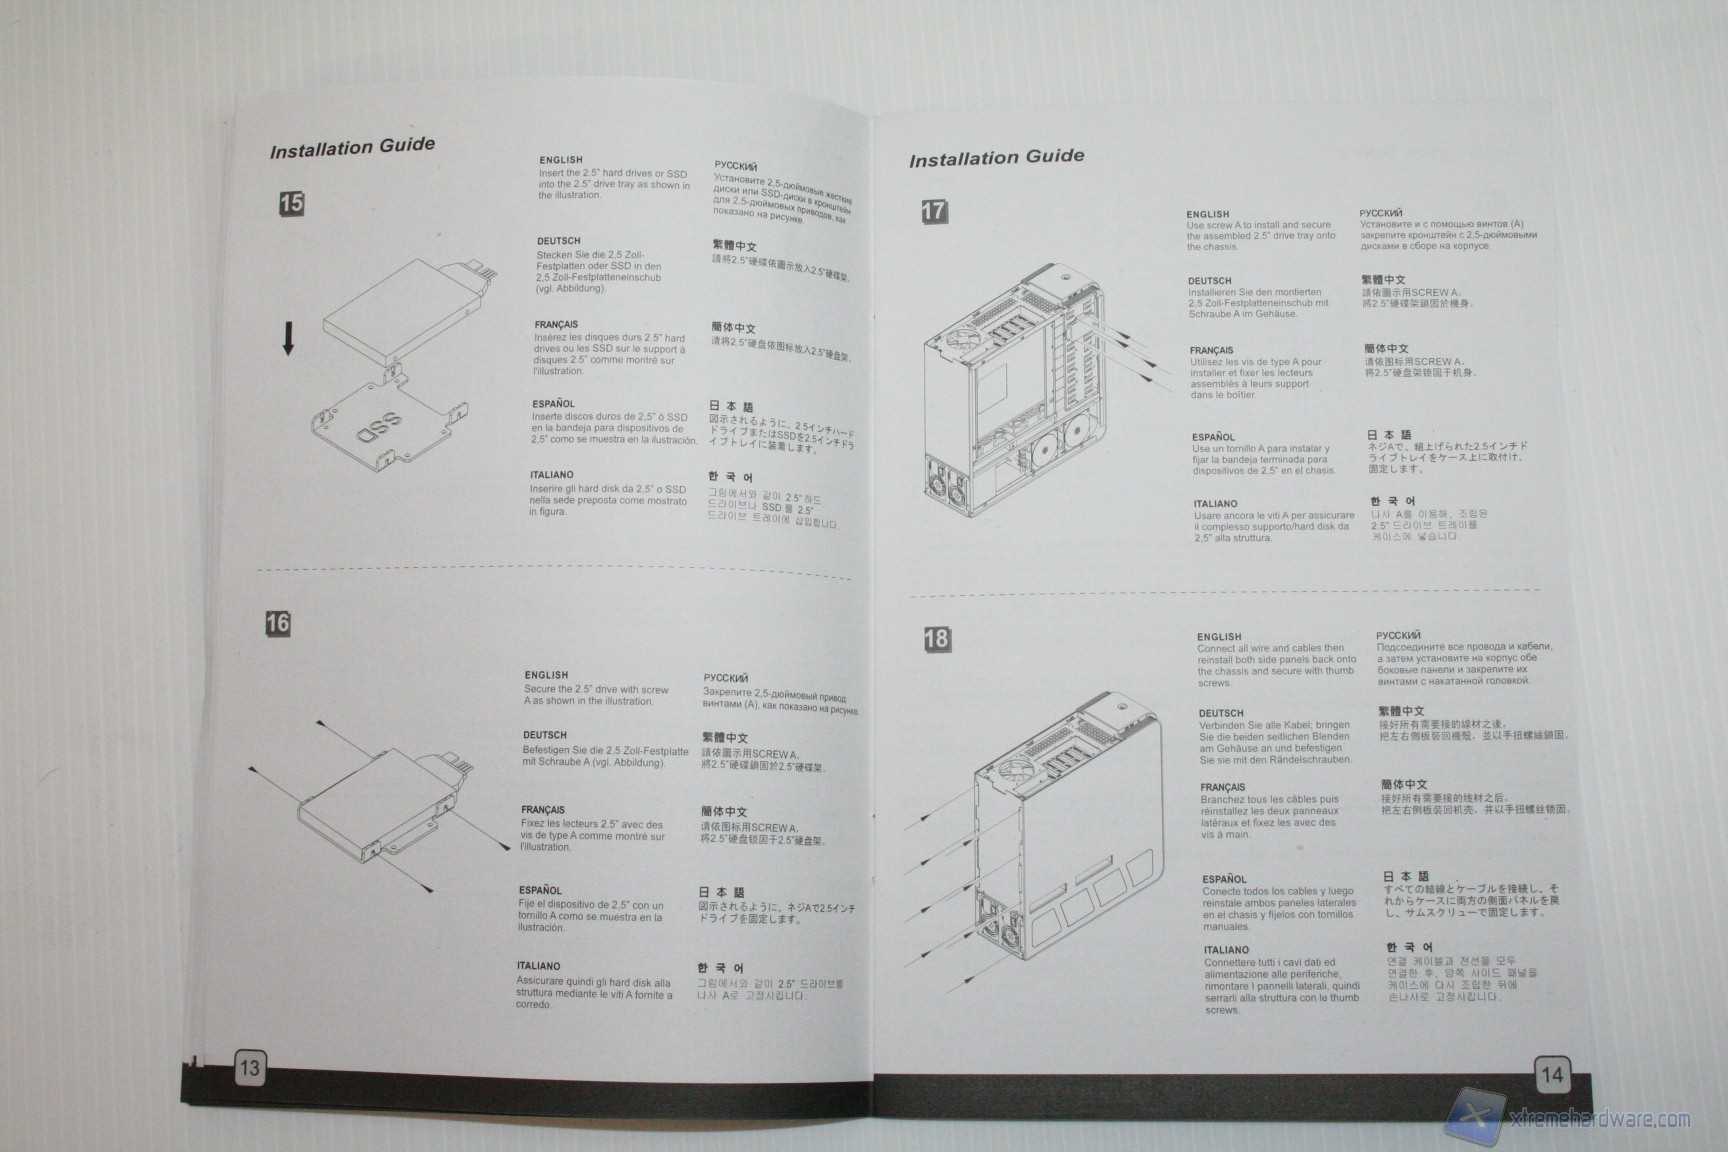
After that, we recommend the installation of hard drives, taking care to position them in the special structure, arranged in series. In the photo above you can see the way in which we managed the original cables in the rear, from top to bottom. We recommend using the same method, for convenience, because at the bottom there will be a big tangle of molex power connectors. Sure, this system should be improved, but the connector CP06 largely compensates for this lack. It would be interesting exploiting at the same time the connectors CP06 and CP05: SilverStone probably will propose a unified version in the future.
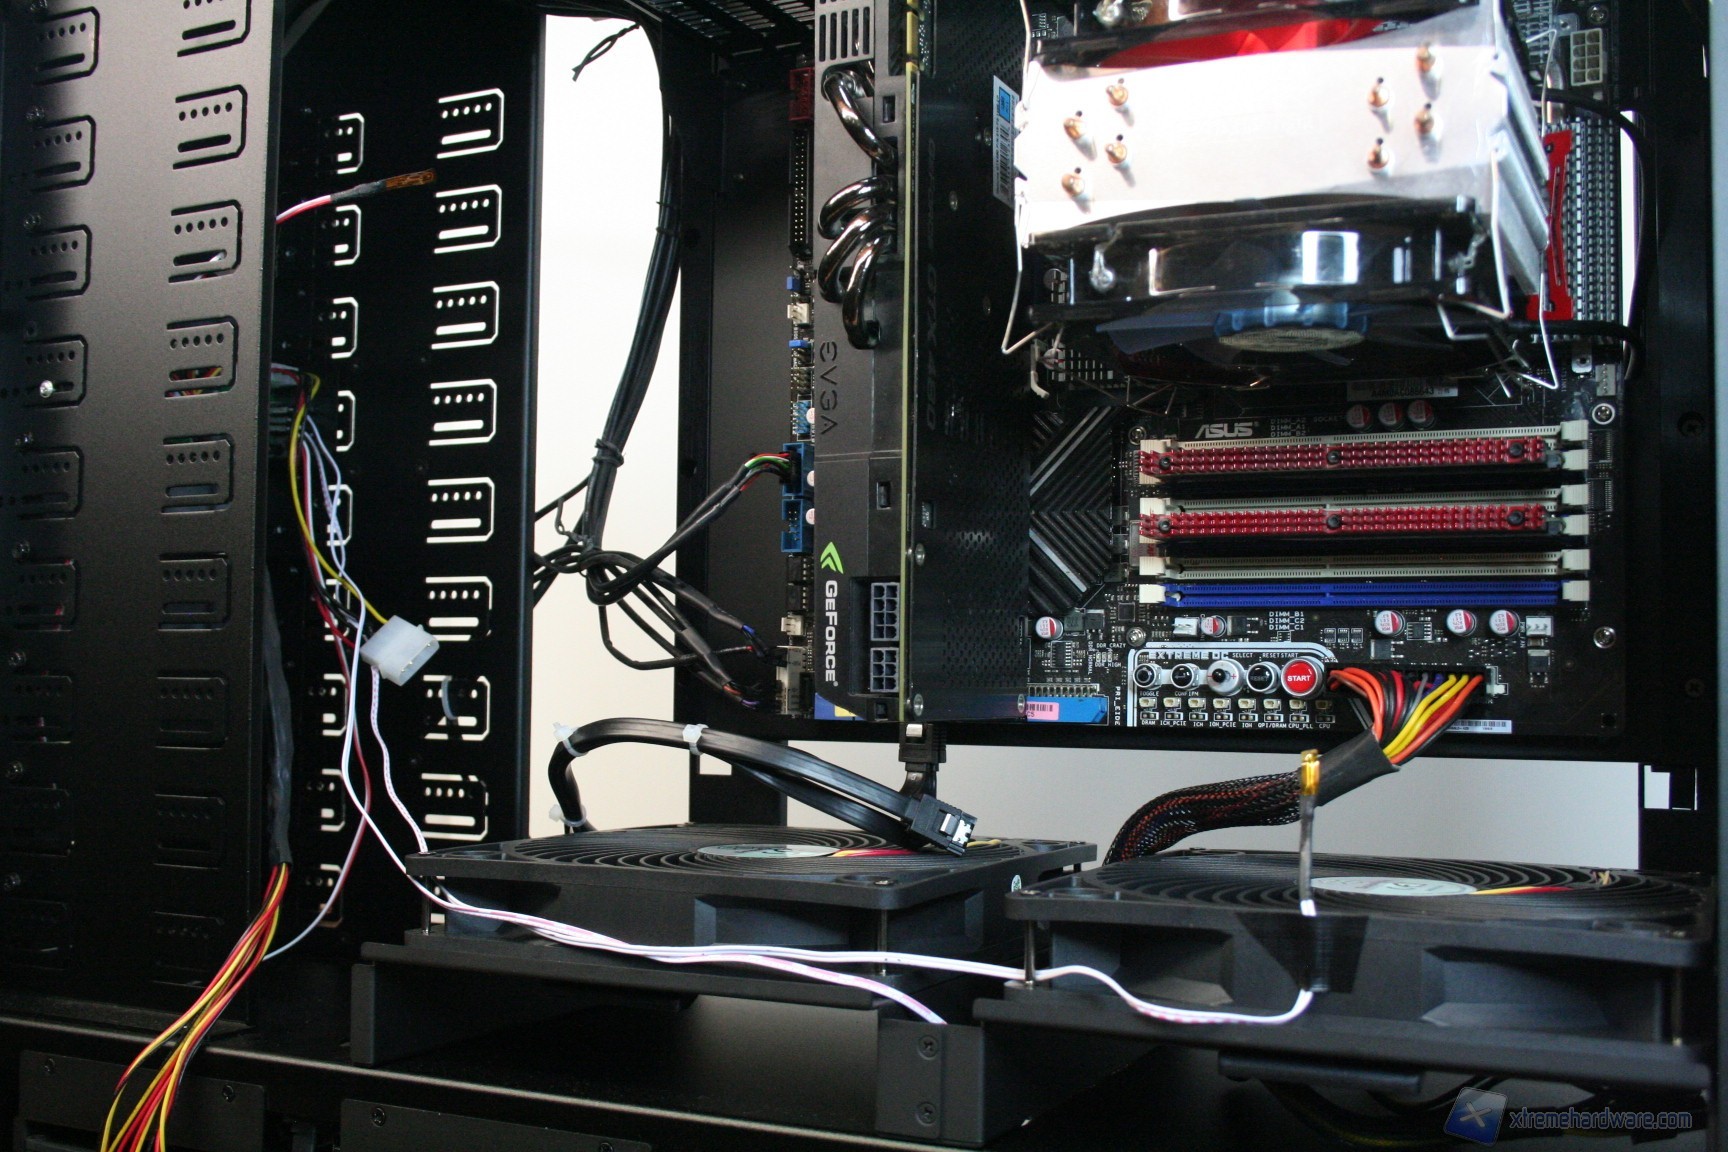
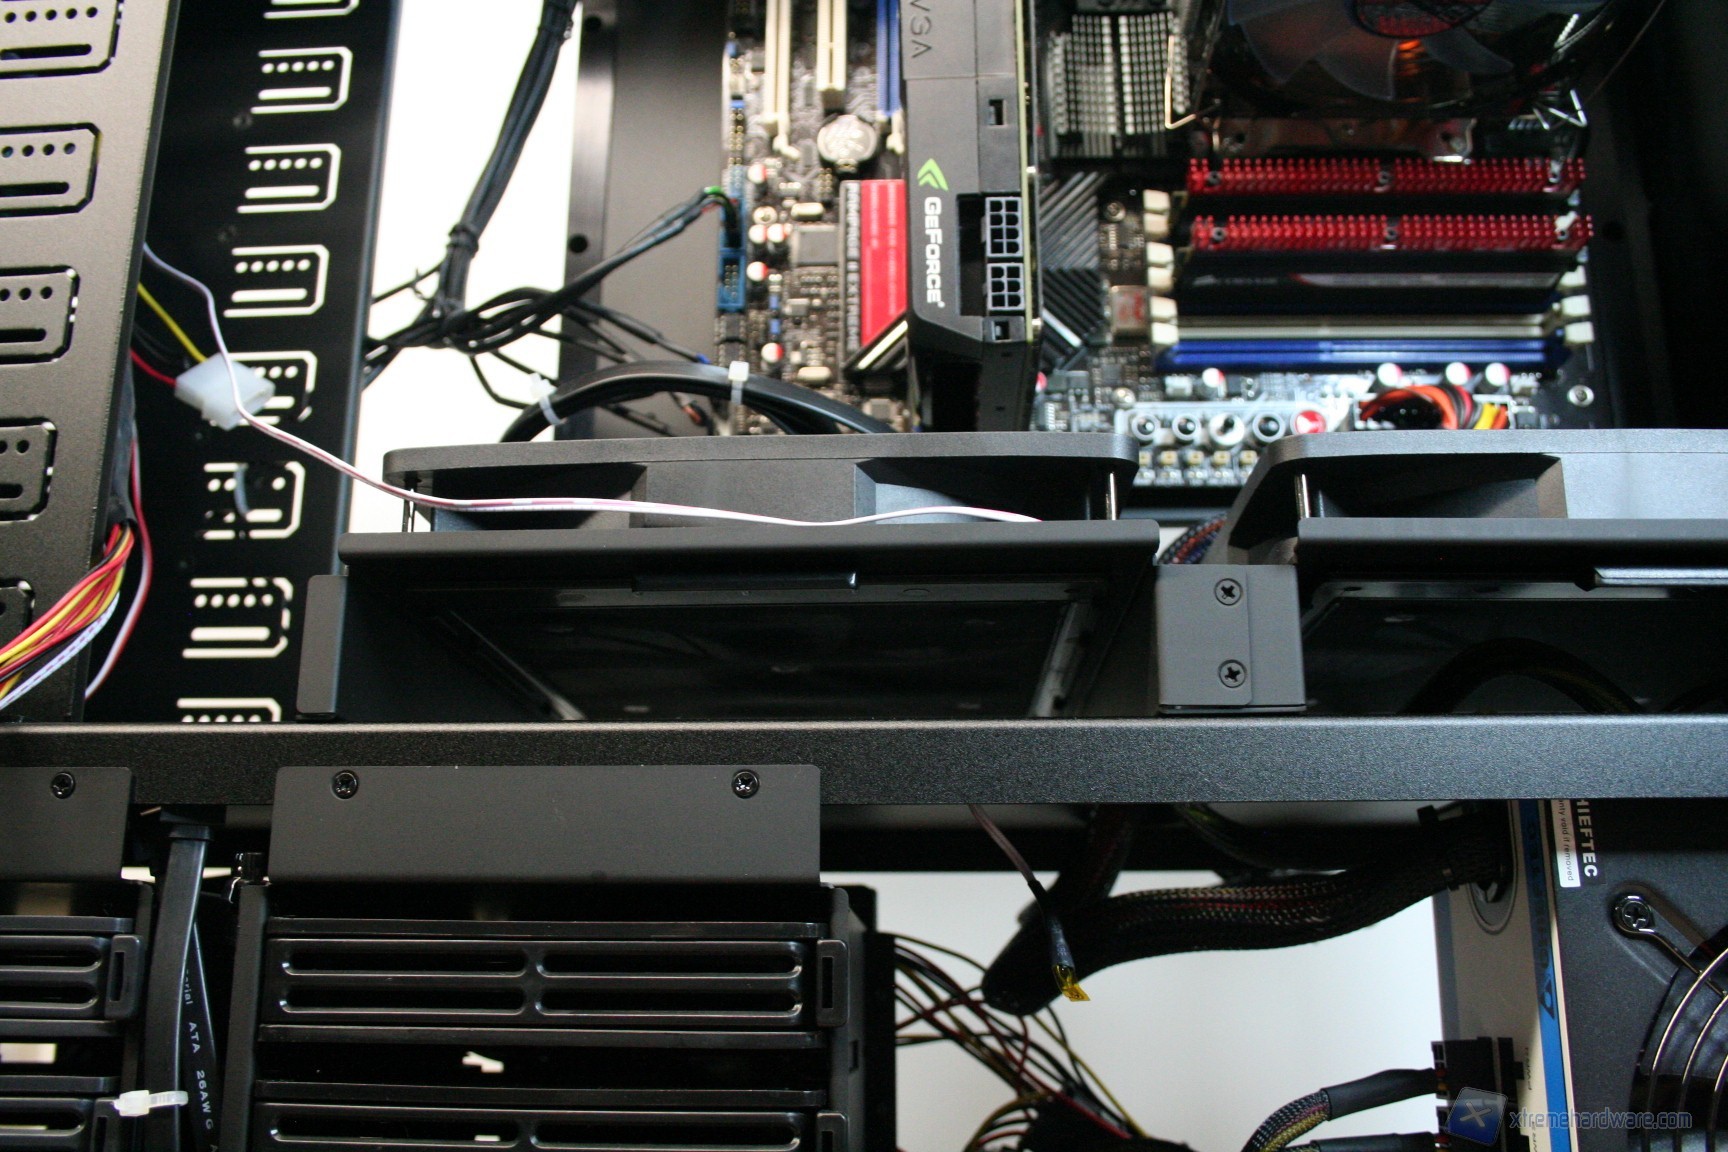
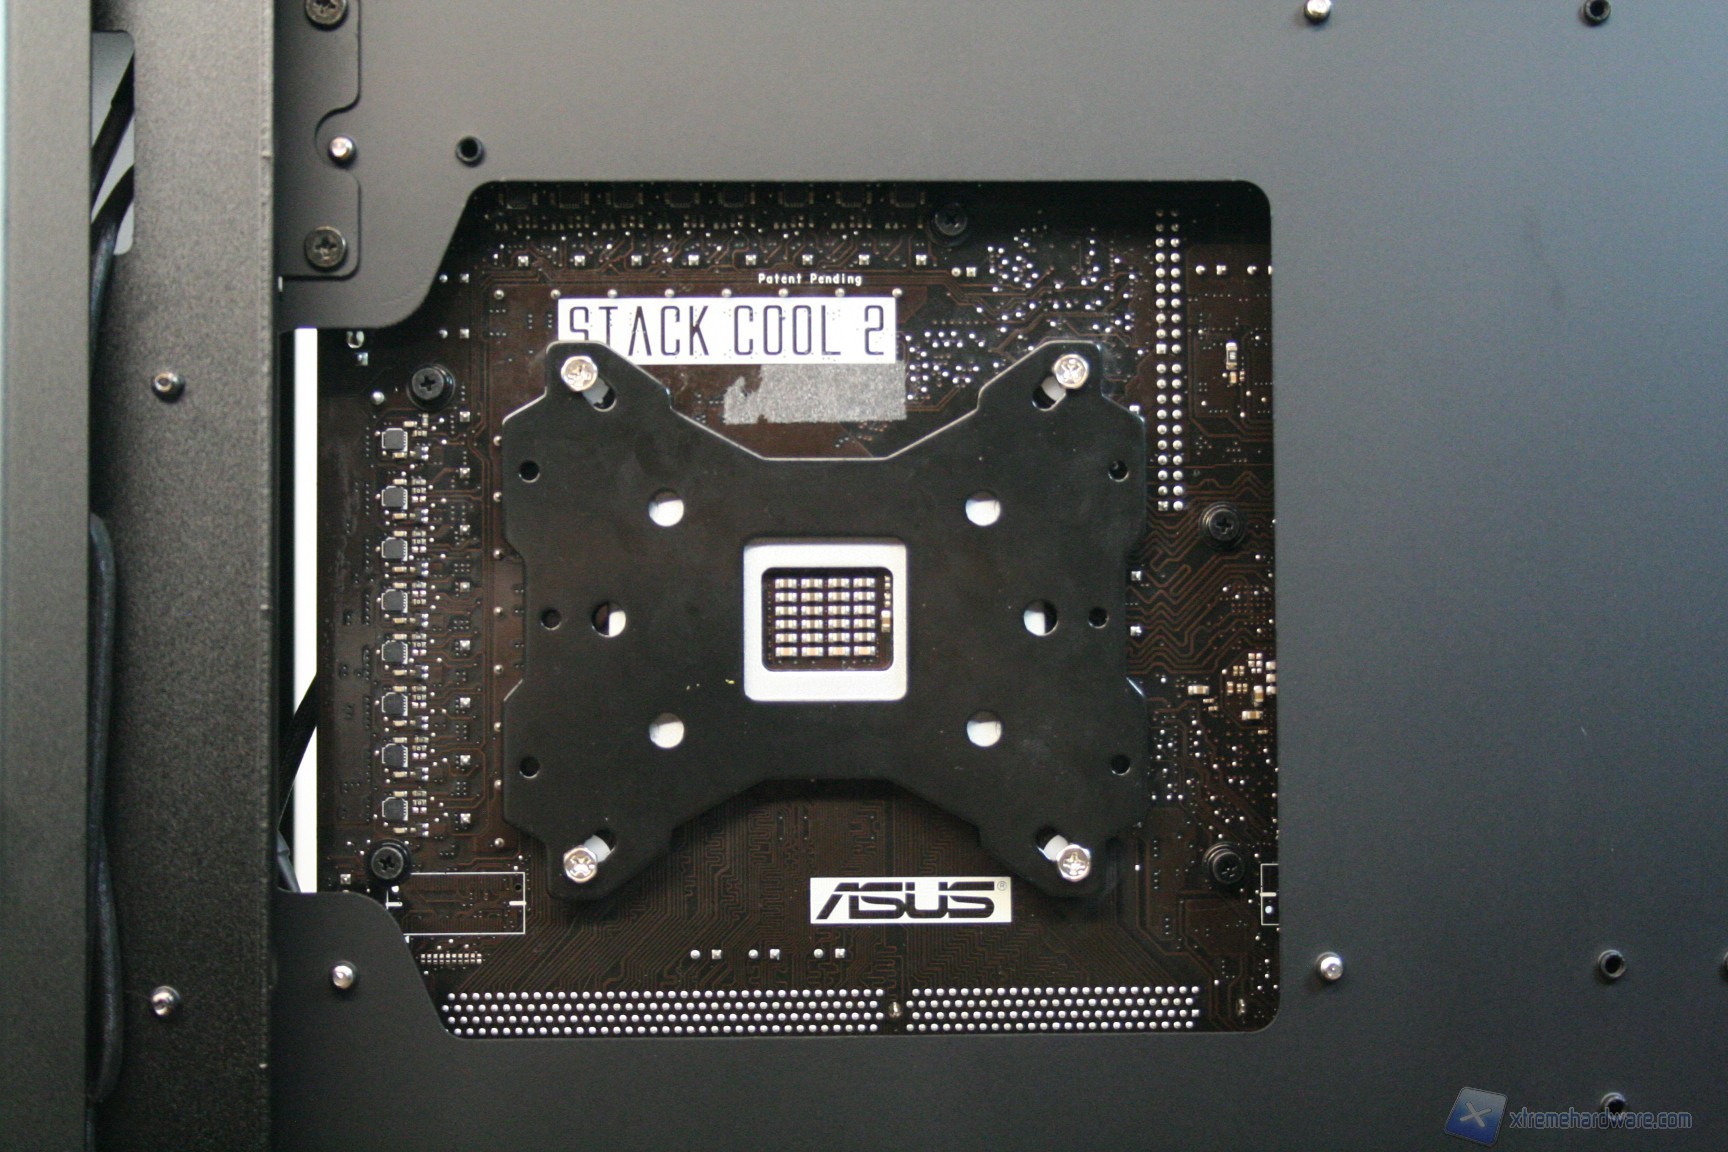
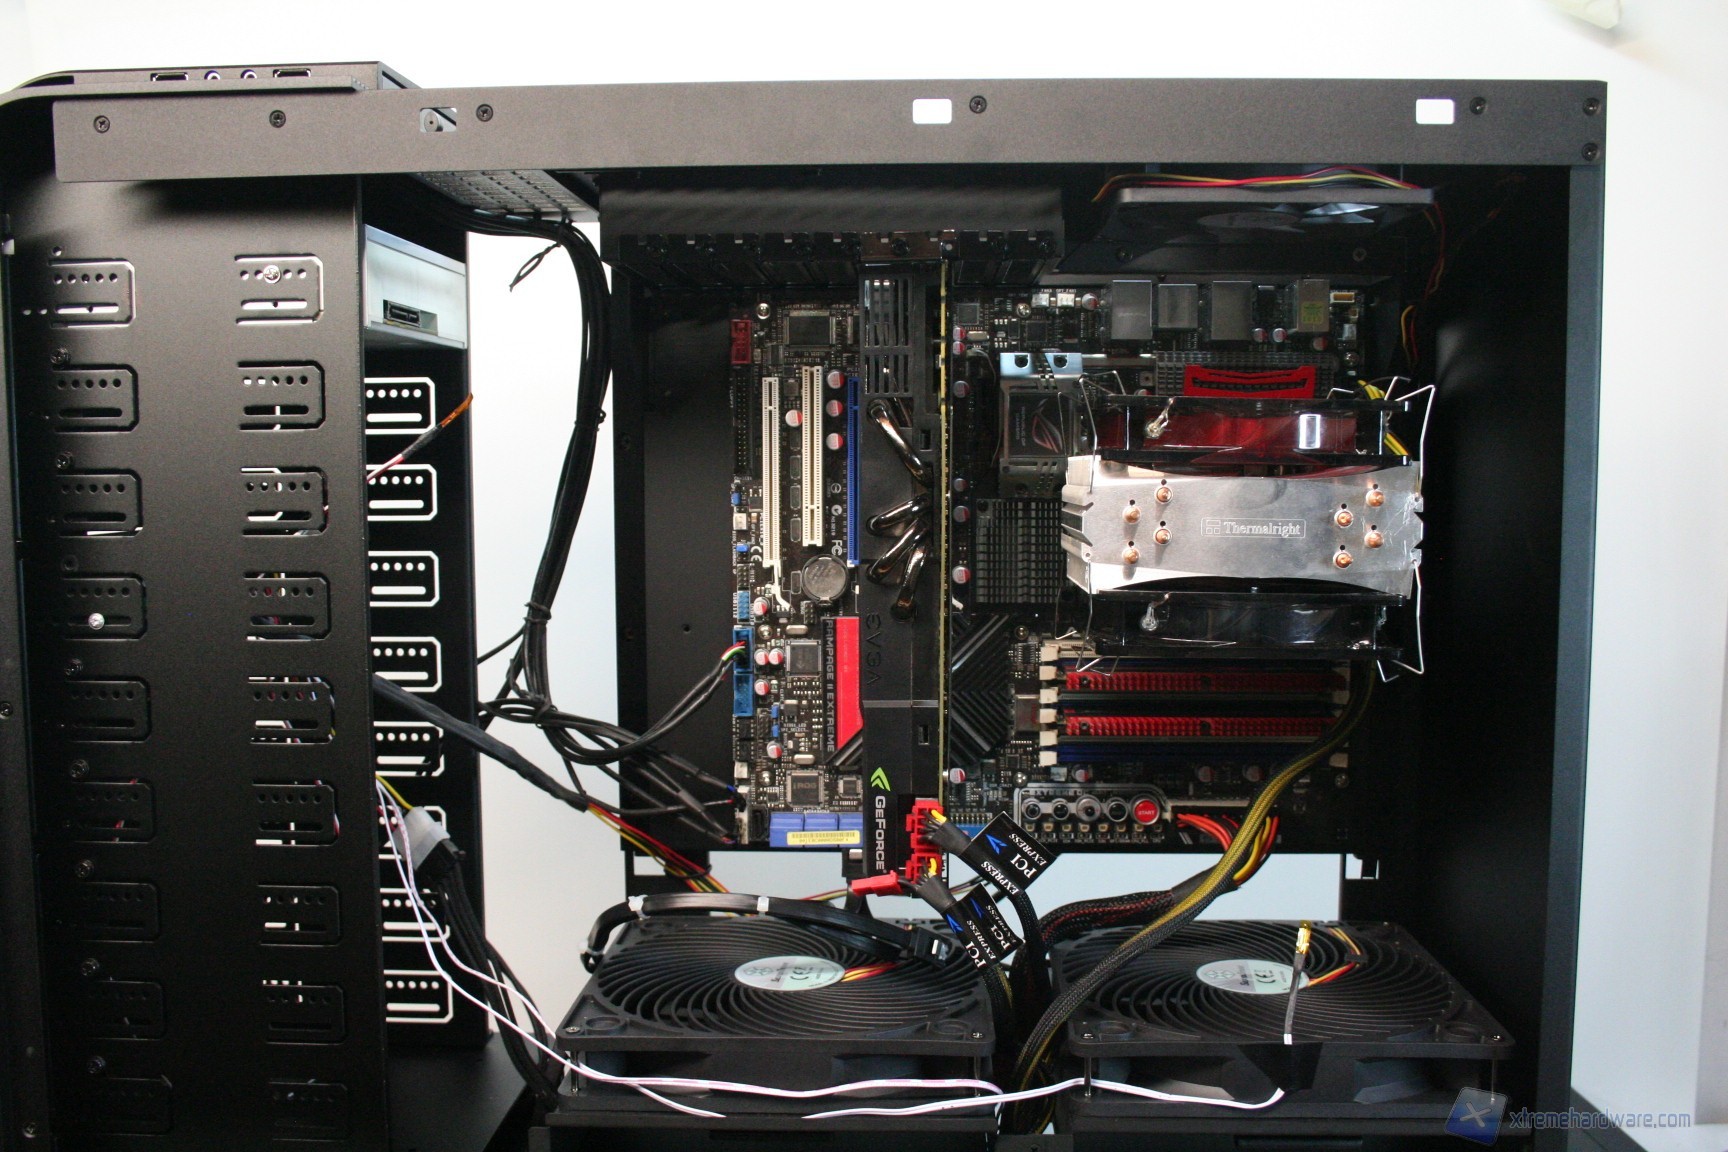
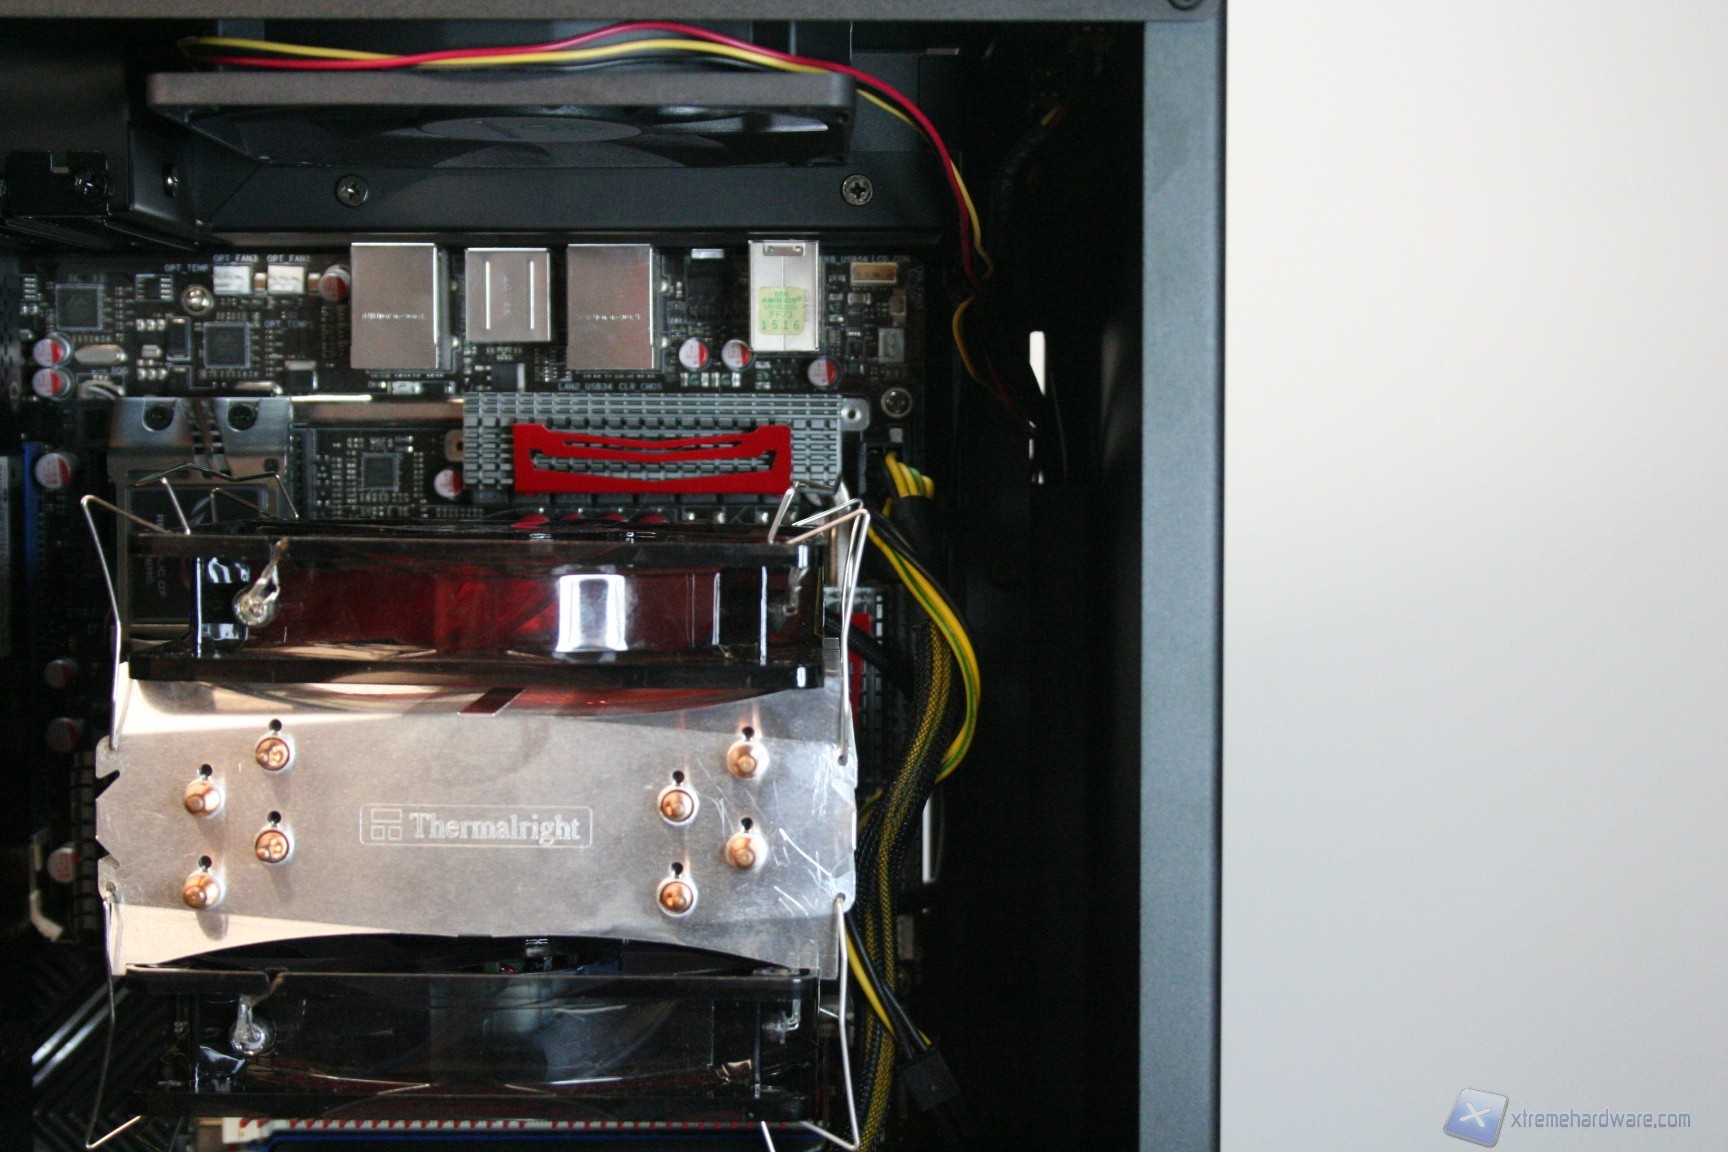
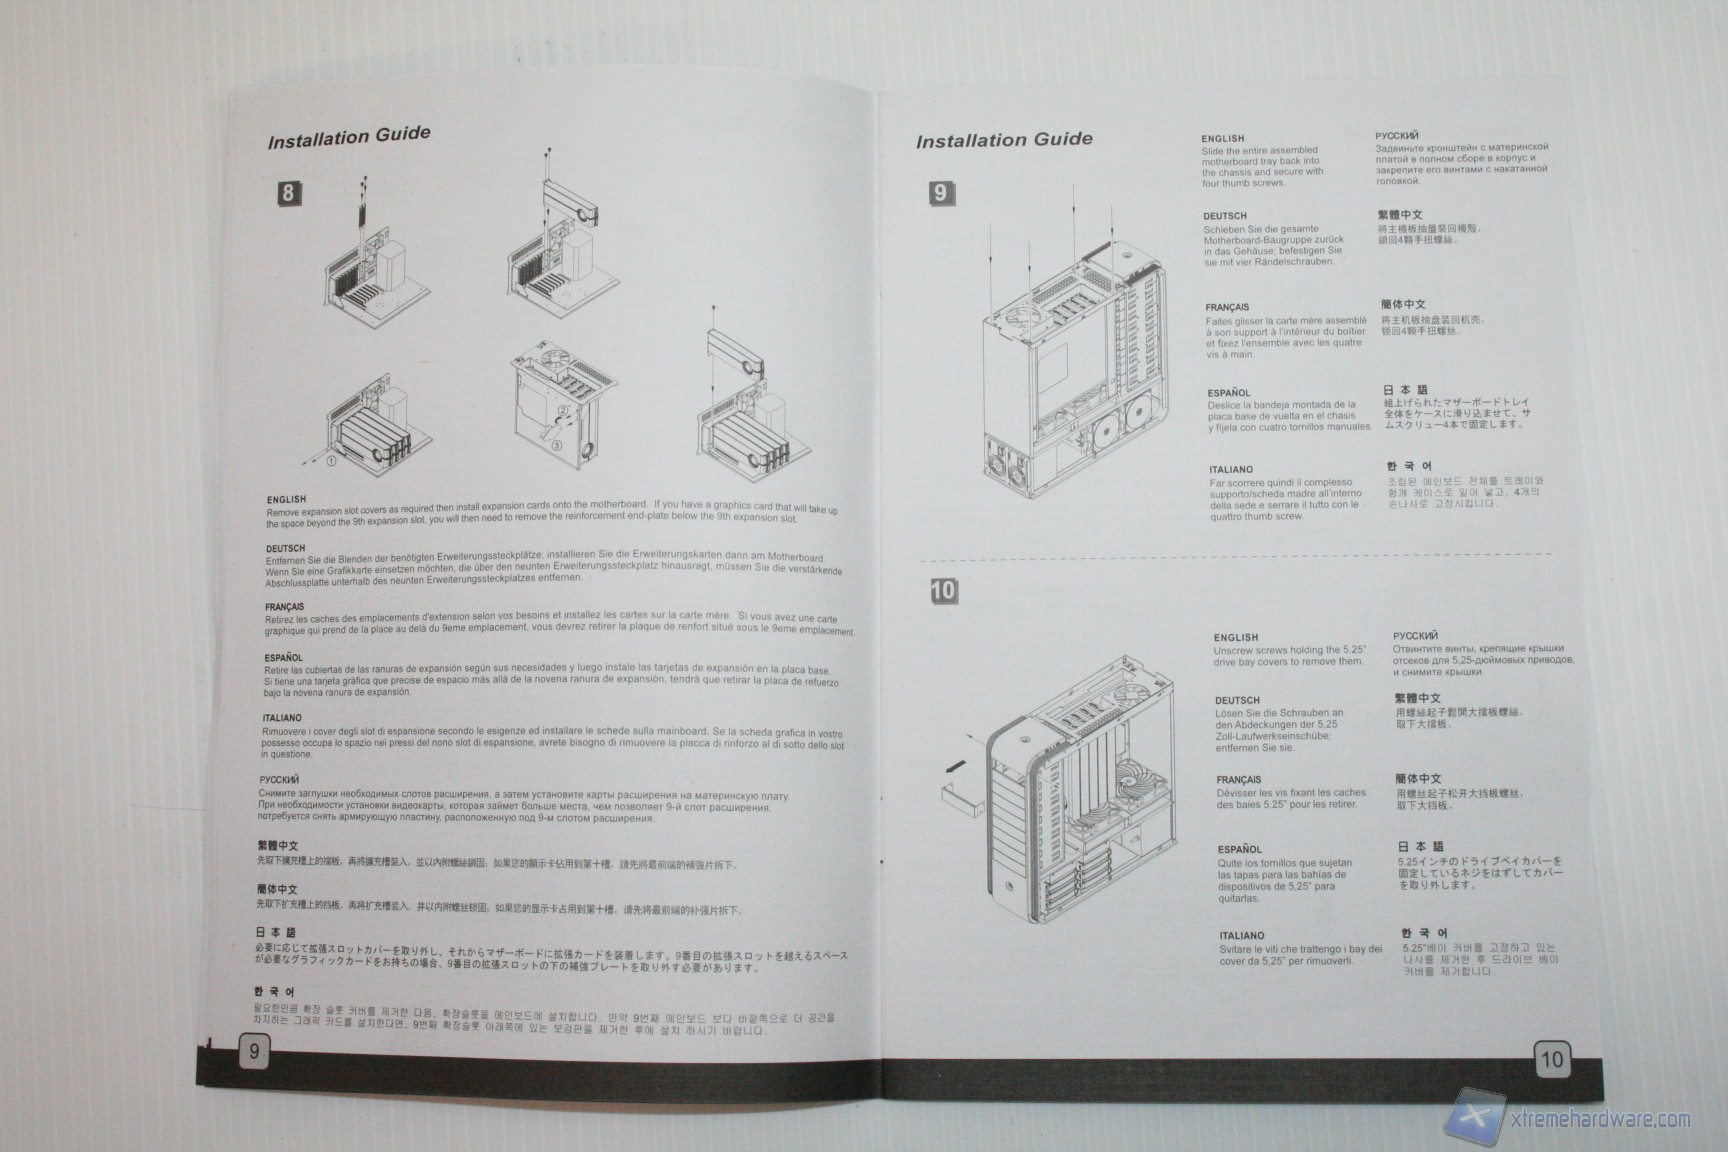
Once installed the hard disks, you can mount the DVD player: you must remove the front panels and replace them with the optical drive, and then screw and tight them from the sides. Then you will install the motherboard. If you have an Intel cooler, with the usual push-pin system, you can install it later, or if you want you can already proceed to install the backplate of the CPU cooler, making sure to spread a thin layer of thermal paste on the base of the CPU. Basically, if your motherboard is not mini-ITX, you must first install the spacers in the holes for the ATX form factor, tighten them very well - we suggest a 1cm wide clamp during this operation, on every cabinet - and then affix the motherboard, tightening it with the provided screws. If you have an aftermarket cooler, you can use the rear hole, which is very handy and will help you a lot during this procedure. After mounting the cooler on the motherboard, you will need to install the graphics card, RAM, and finally to assemble the cables connecting the cabinet to the motherboard. To do a clean job we recommend the use of the bands provided by SilverStone. You can find in the photos how look likes the cable management on the back, but with greater care and attention to detail the work will be even better. After the operation we recommend that you connect all the fans that are present in the cabinet. This is how looks the TJ11 at the end of the work.
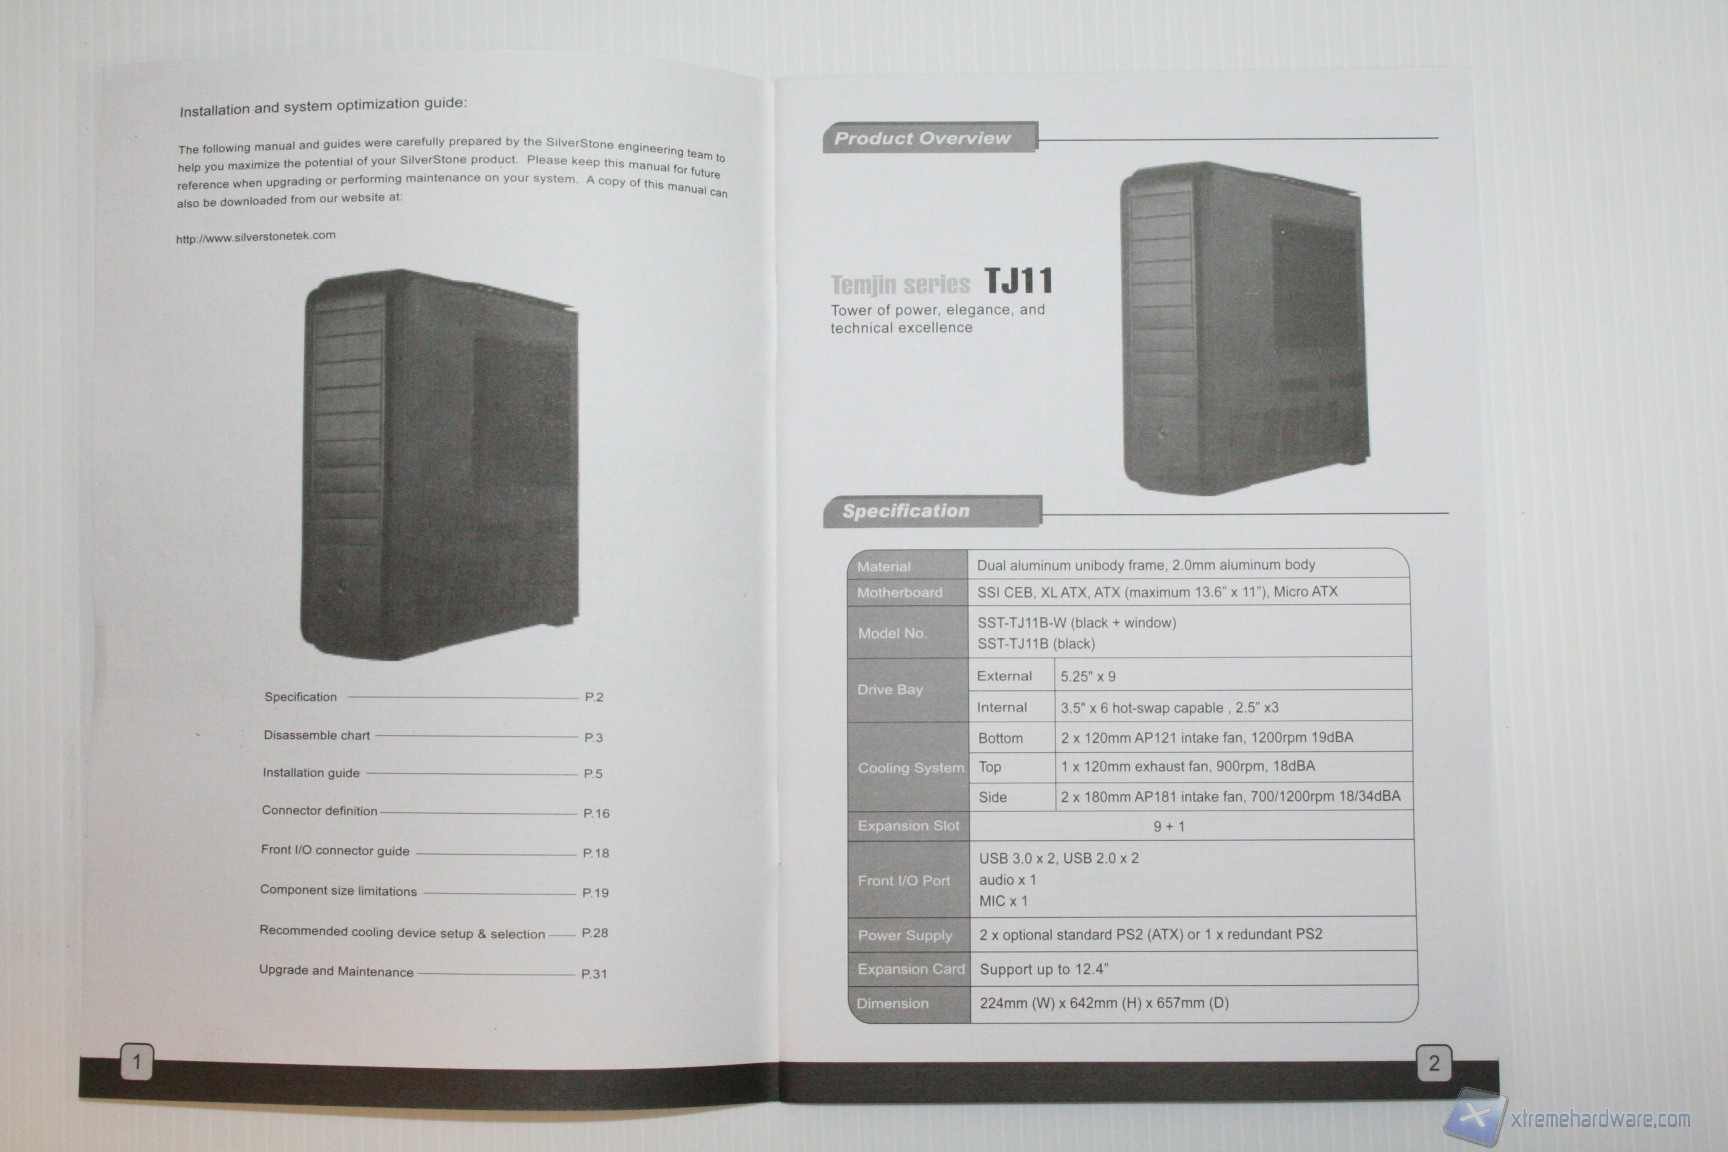
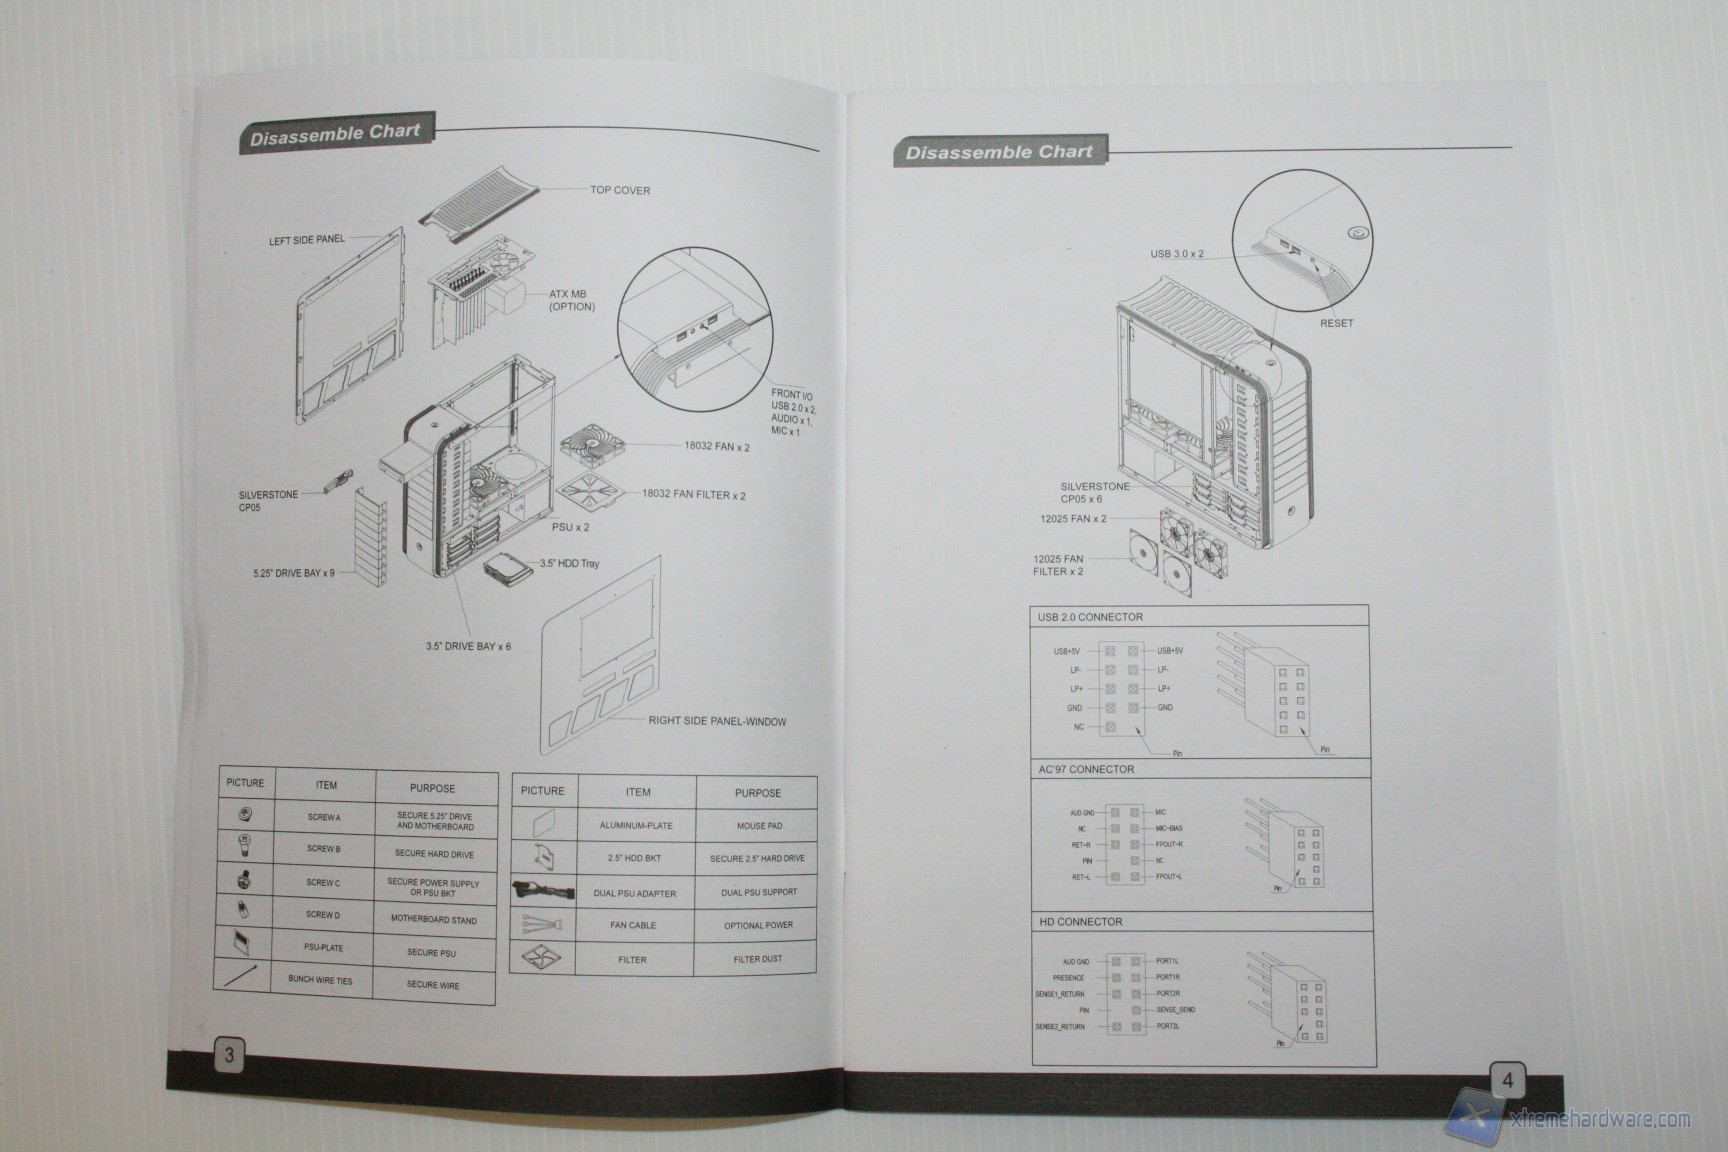
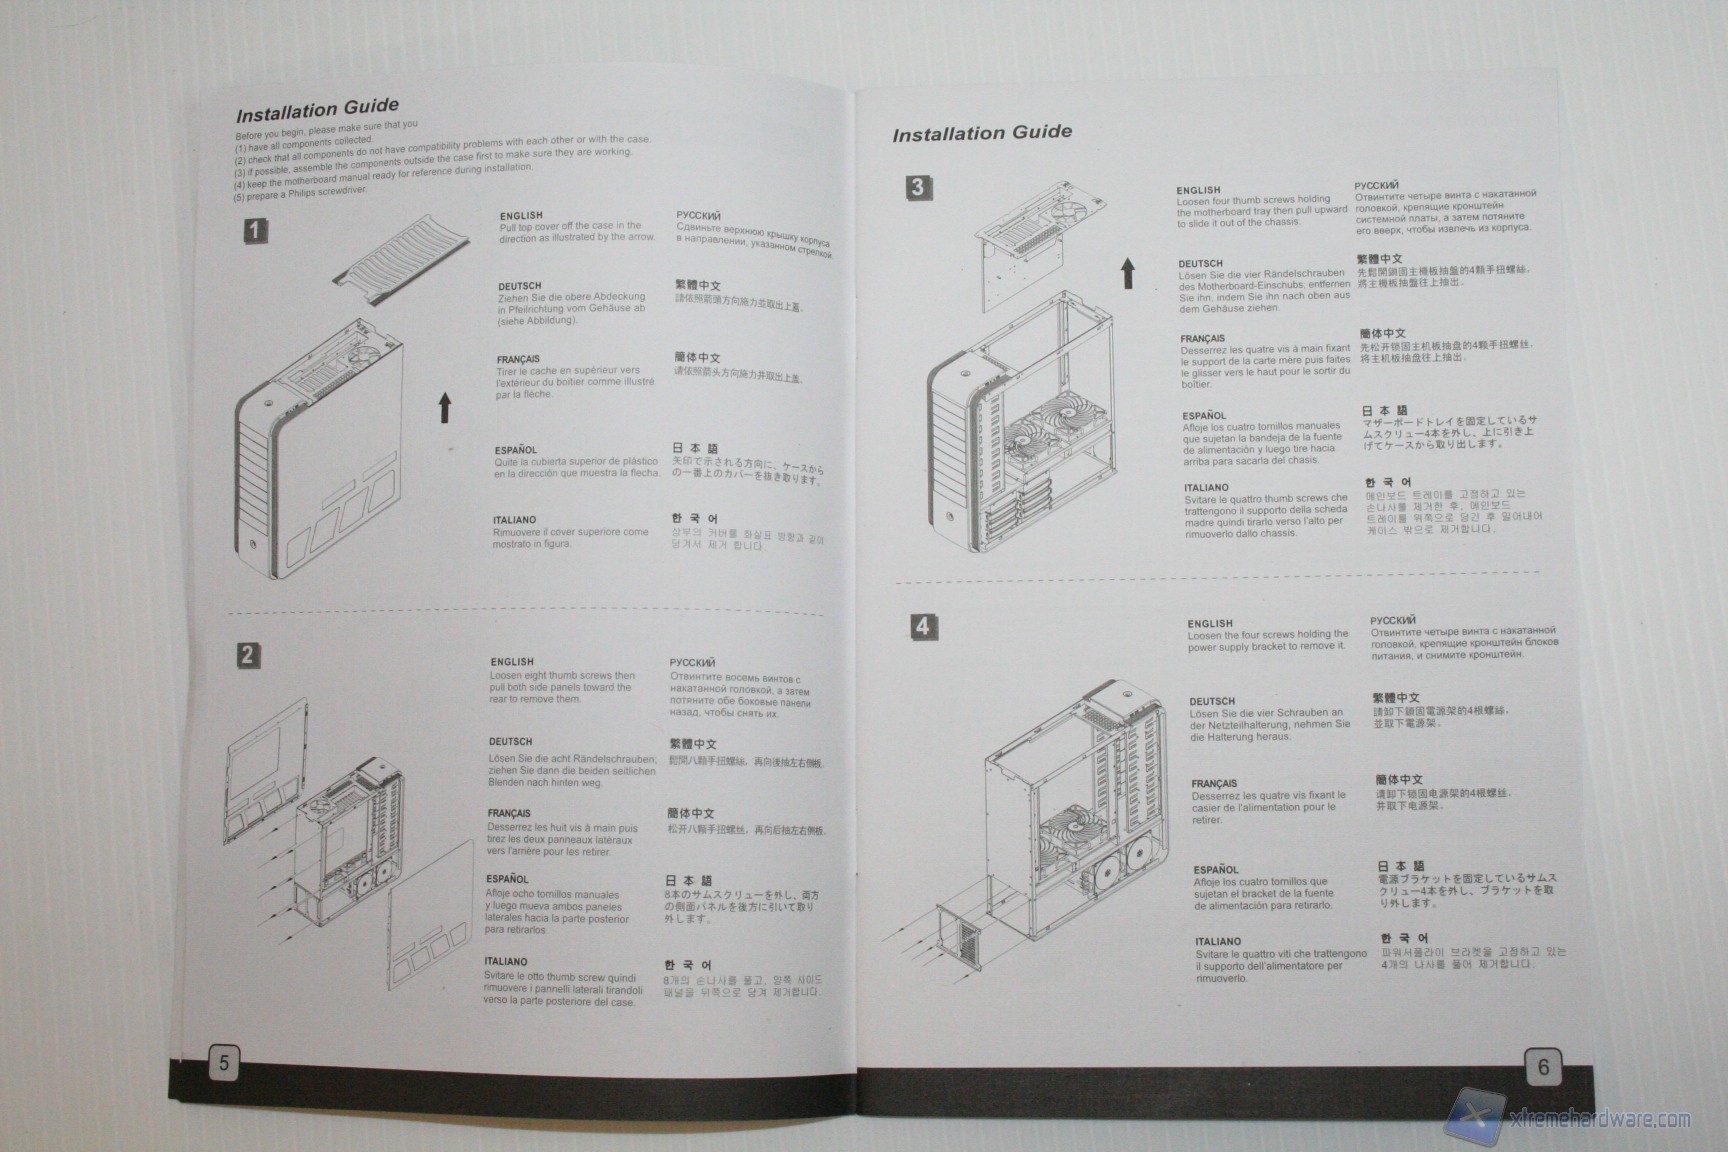
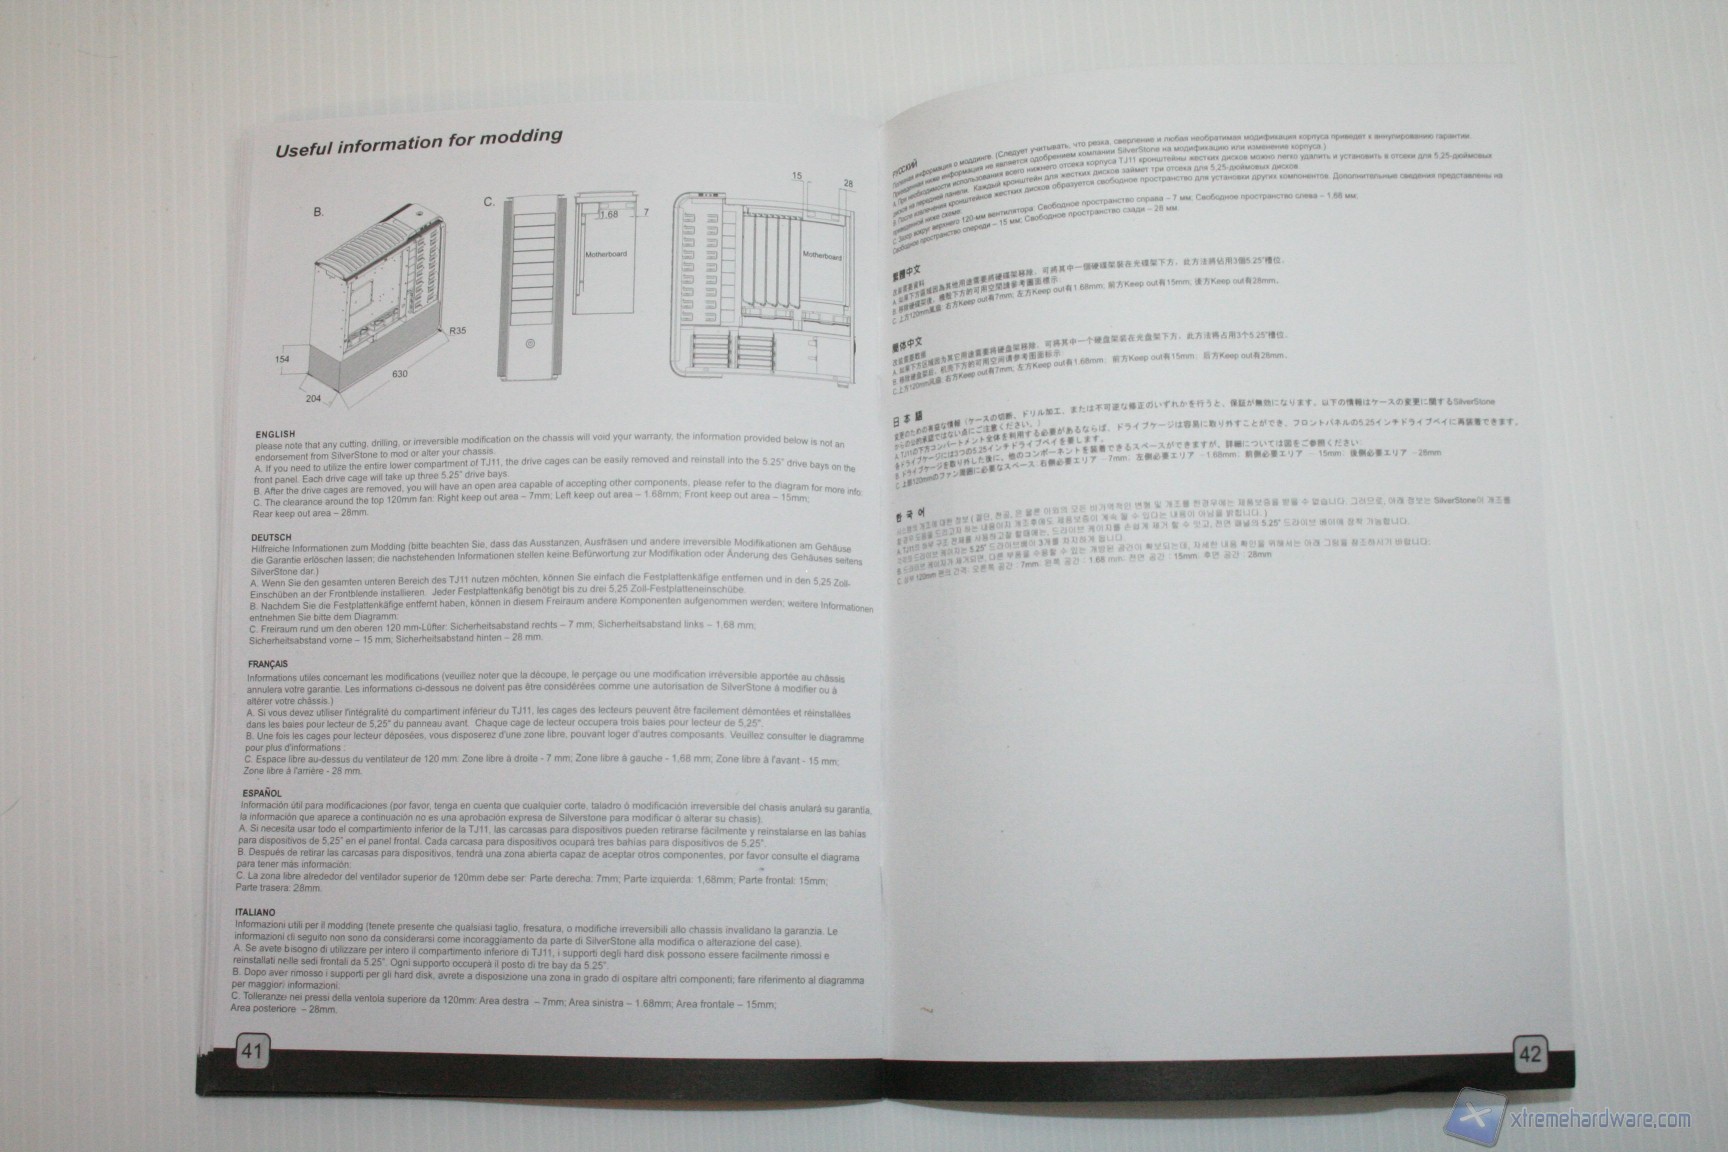
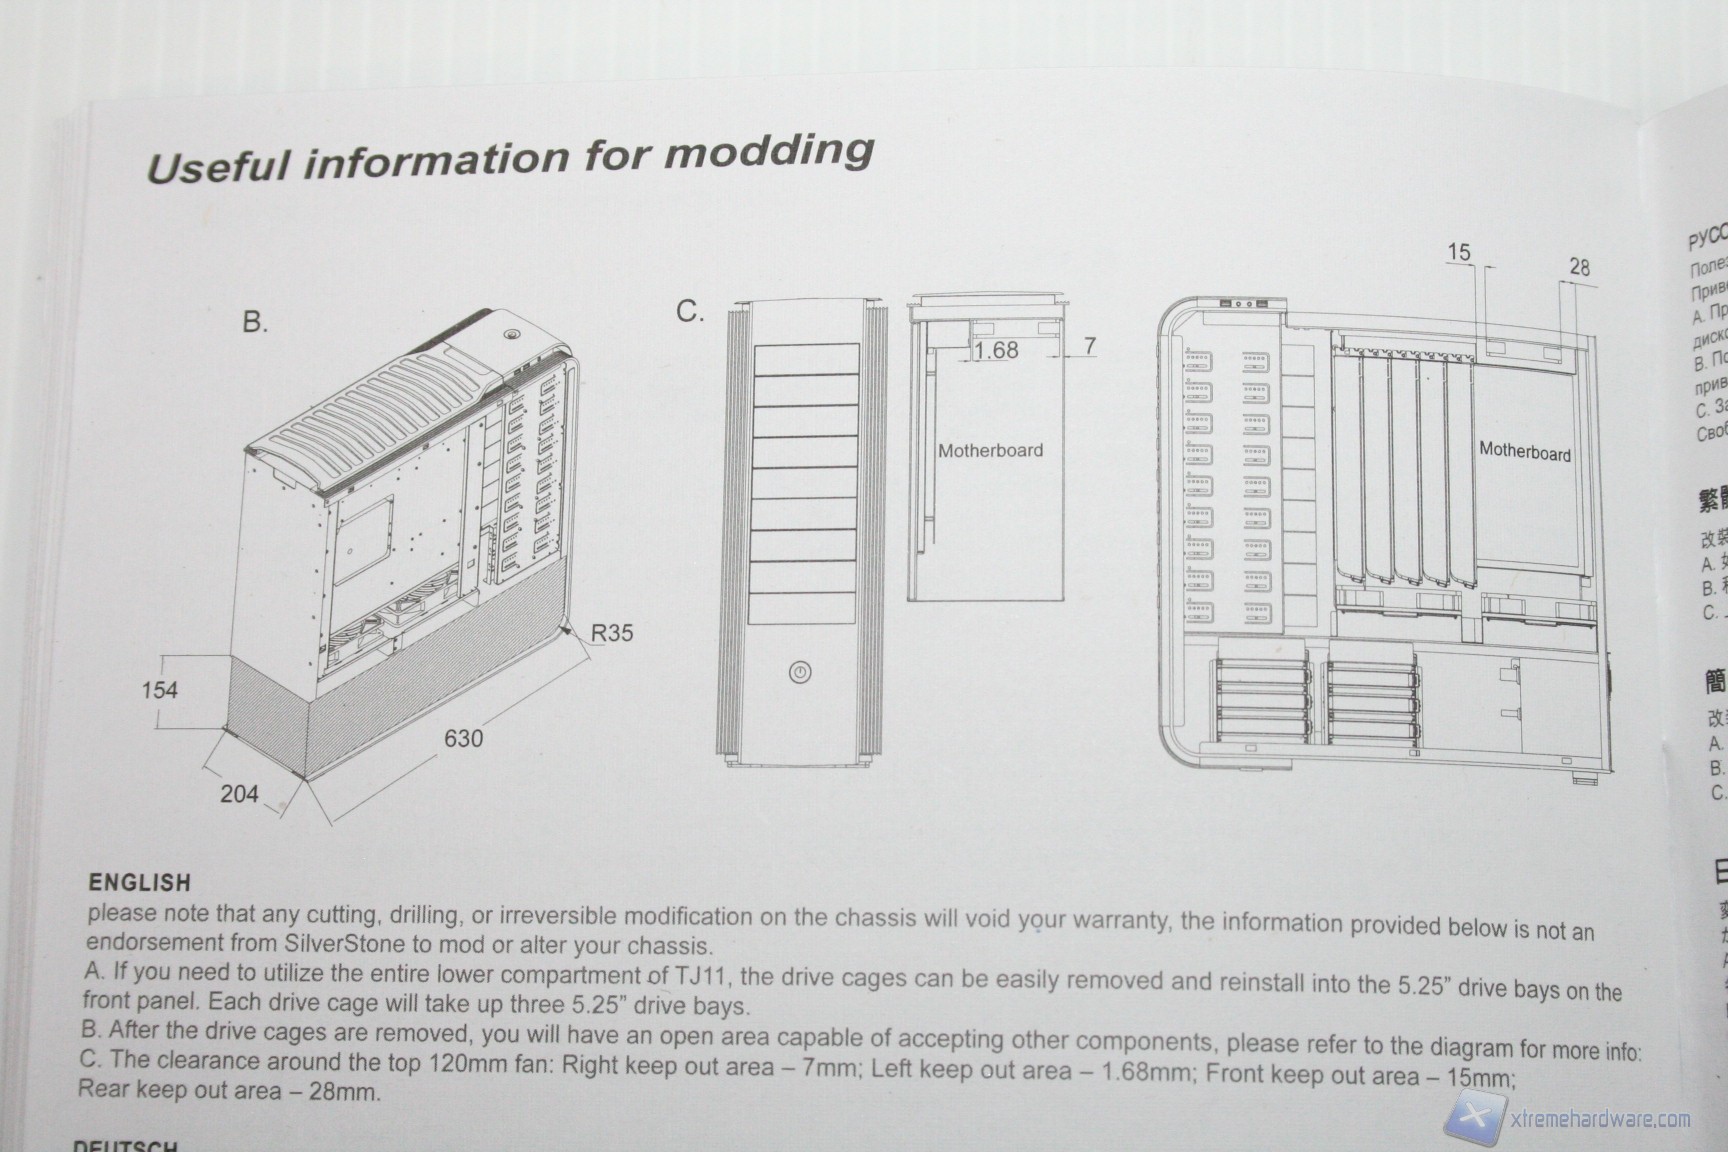
We report here the pictures and the link to download the manual, so that you can directly assess all the technical characteristics of the cabinet.
http://www.SilverStonetek.com/downloads/Manual/case/Multi-TJ11-Manual.pdf
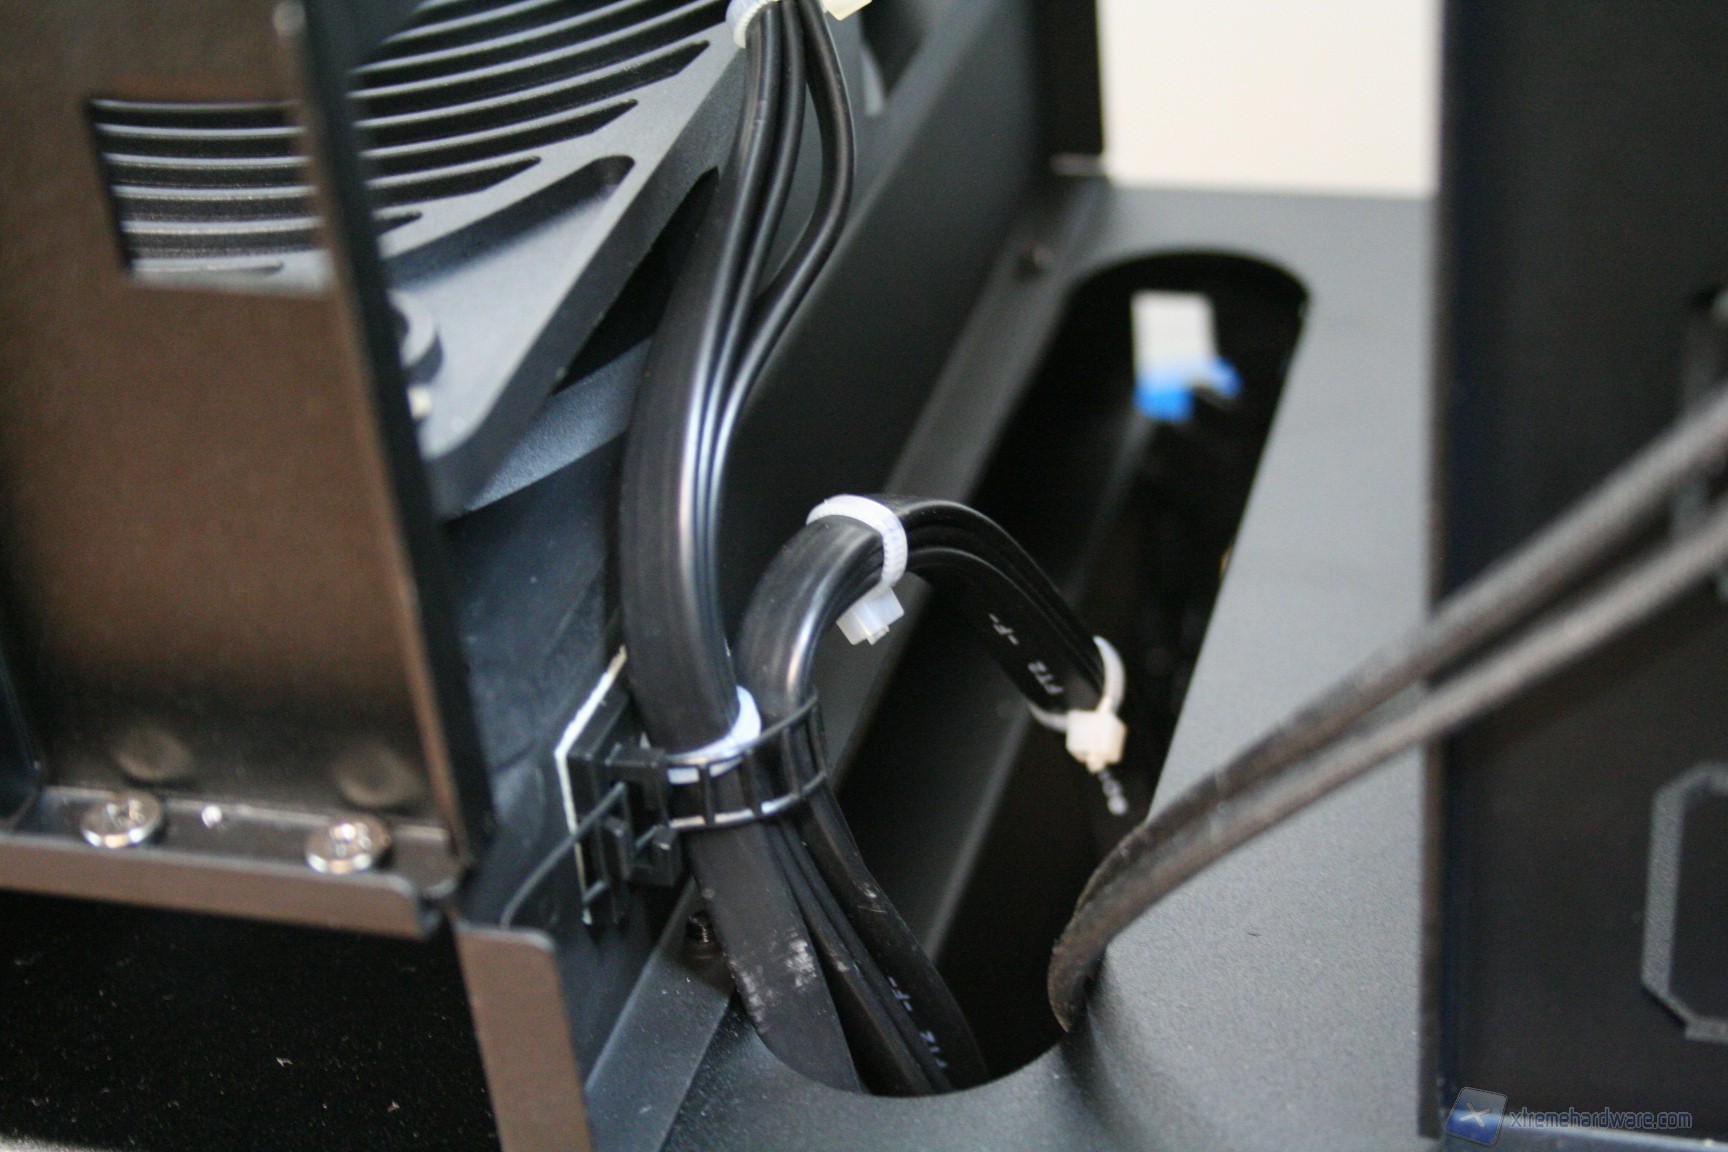
We will show you also a picture of the SilverStone CP06 connectors which are recommended for the installation because they would solve the problem of power for SATA disks. In this case, of course, you will need to uninstall the CP05 hot-swap connectors this is one of the elements of the second-last chapter, which describes a potential improvement of this system by SilverStone for future versions. Undoubtedly, however, the compatibility with the Hot Swap is a great thing, because it allows the installation of SSD in a very immediate and practical manner.
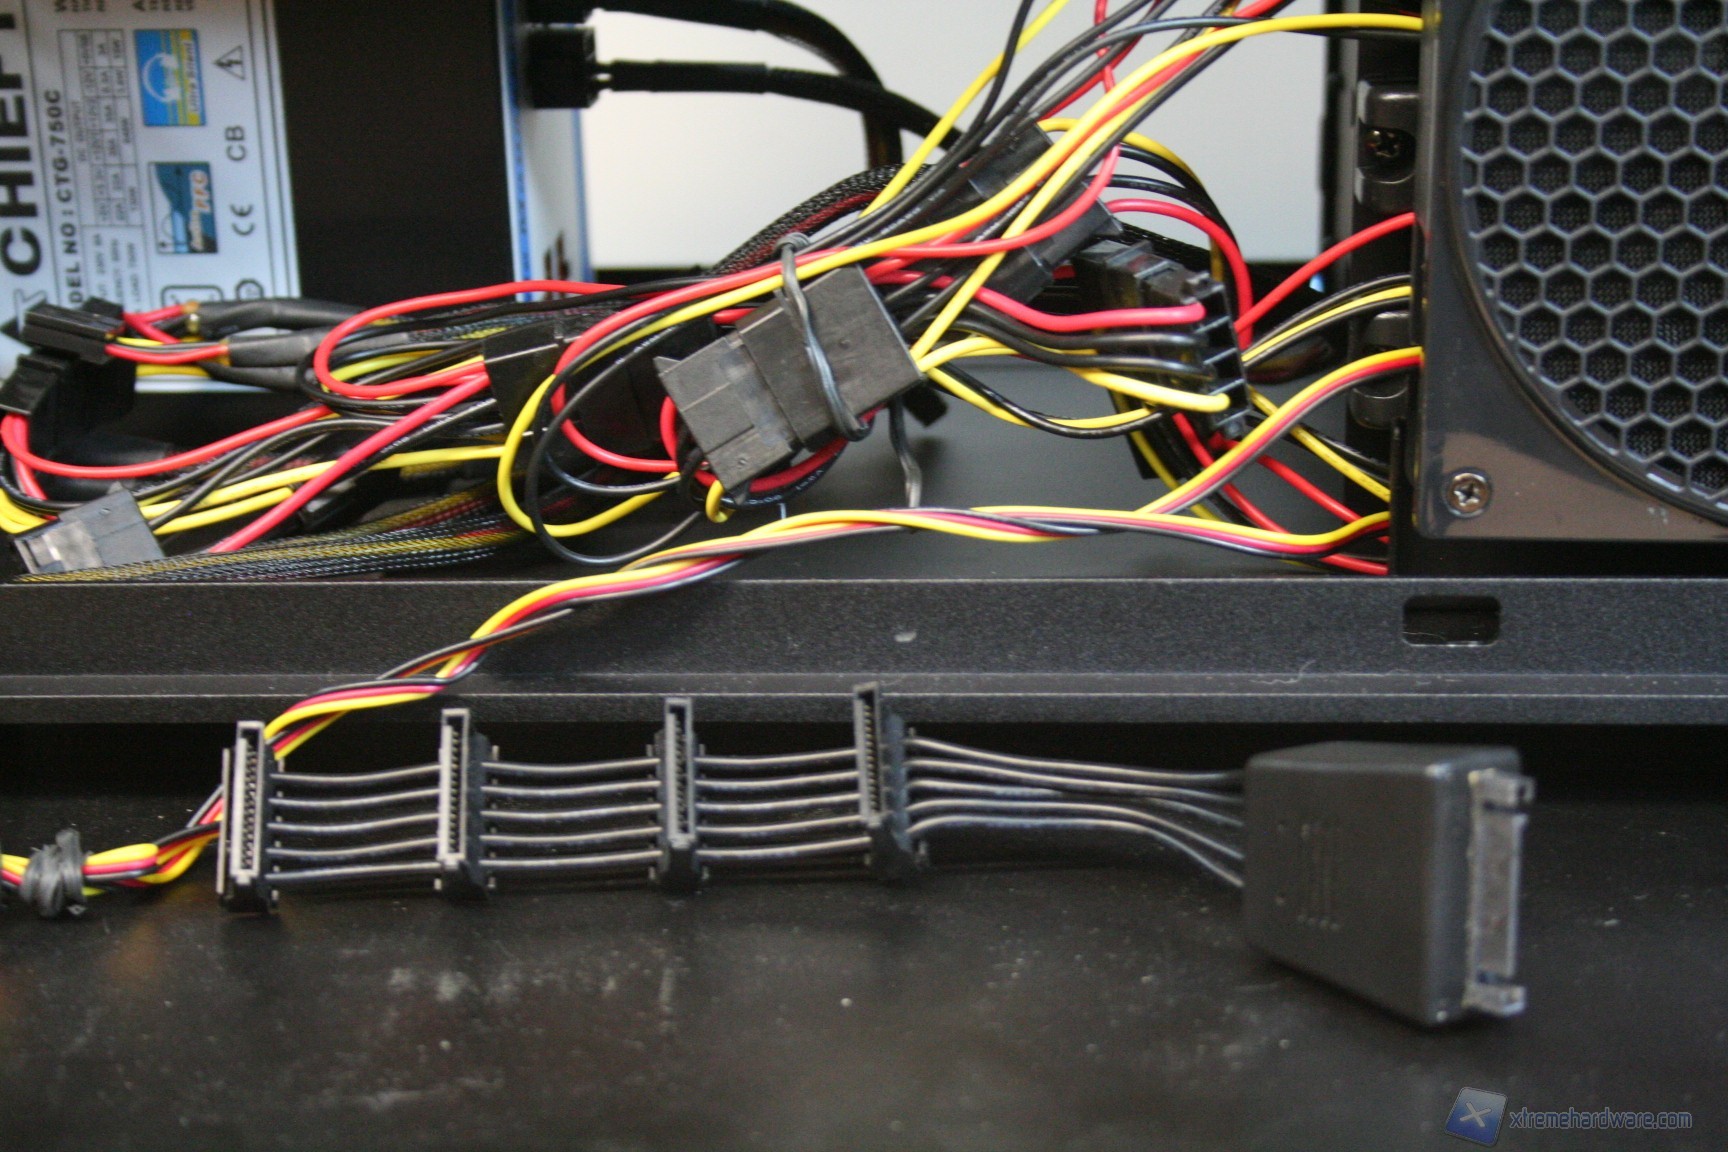
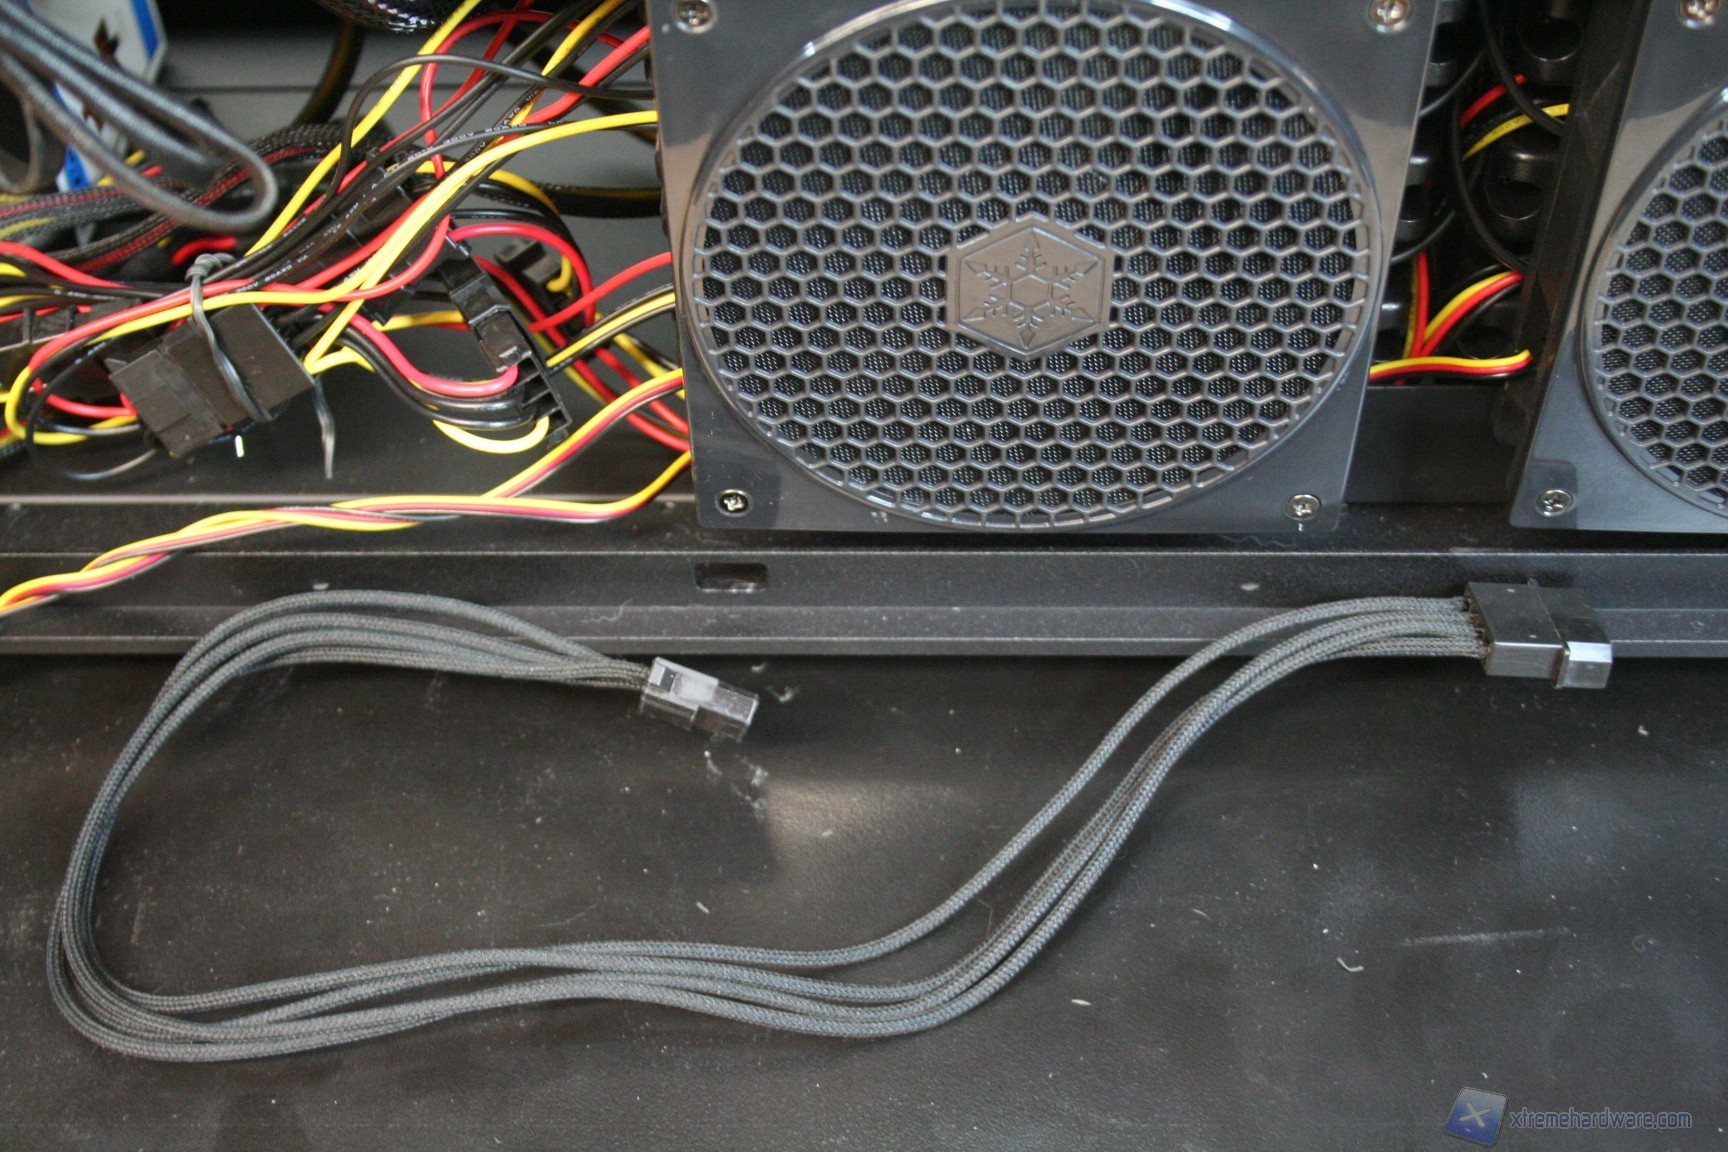
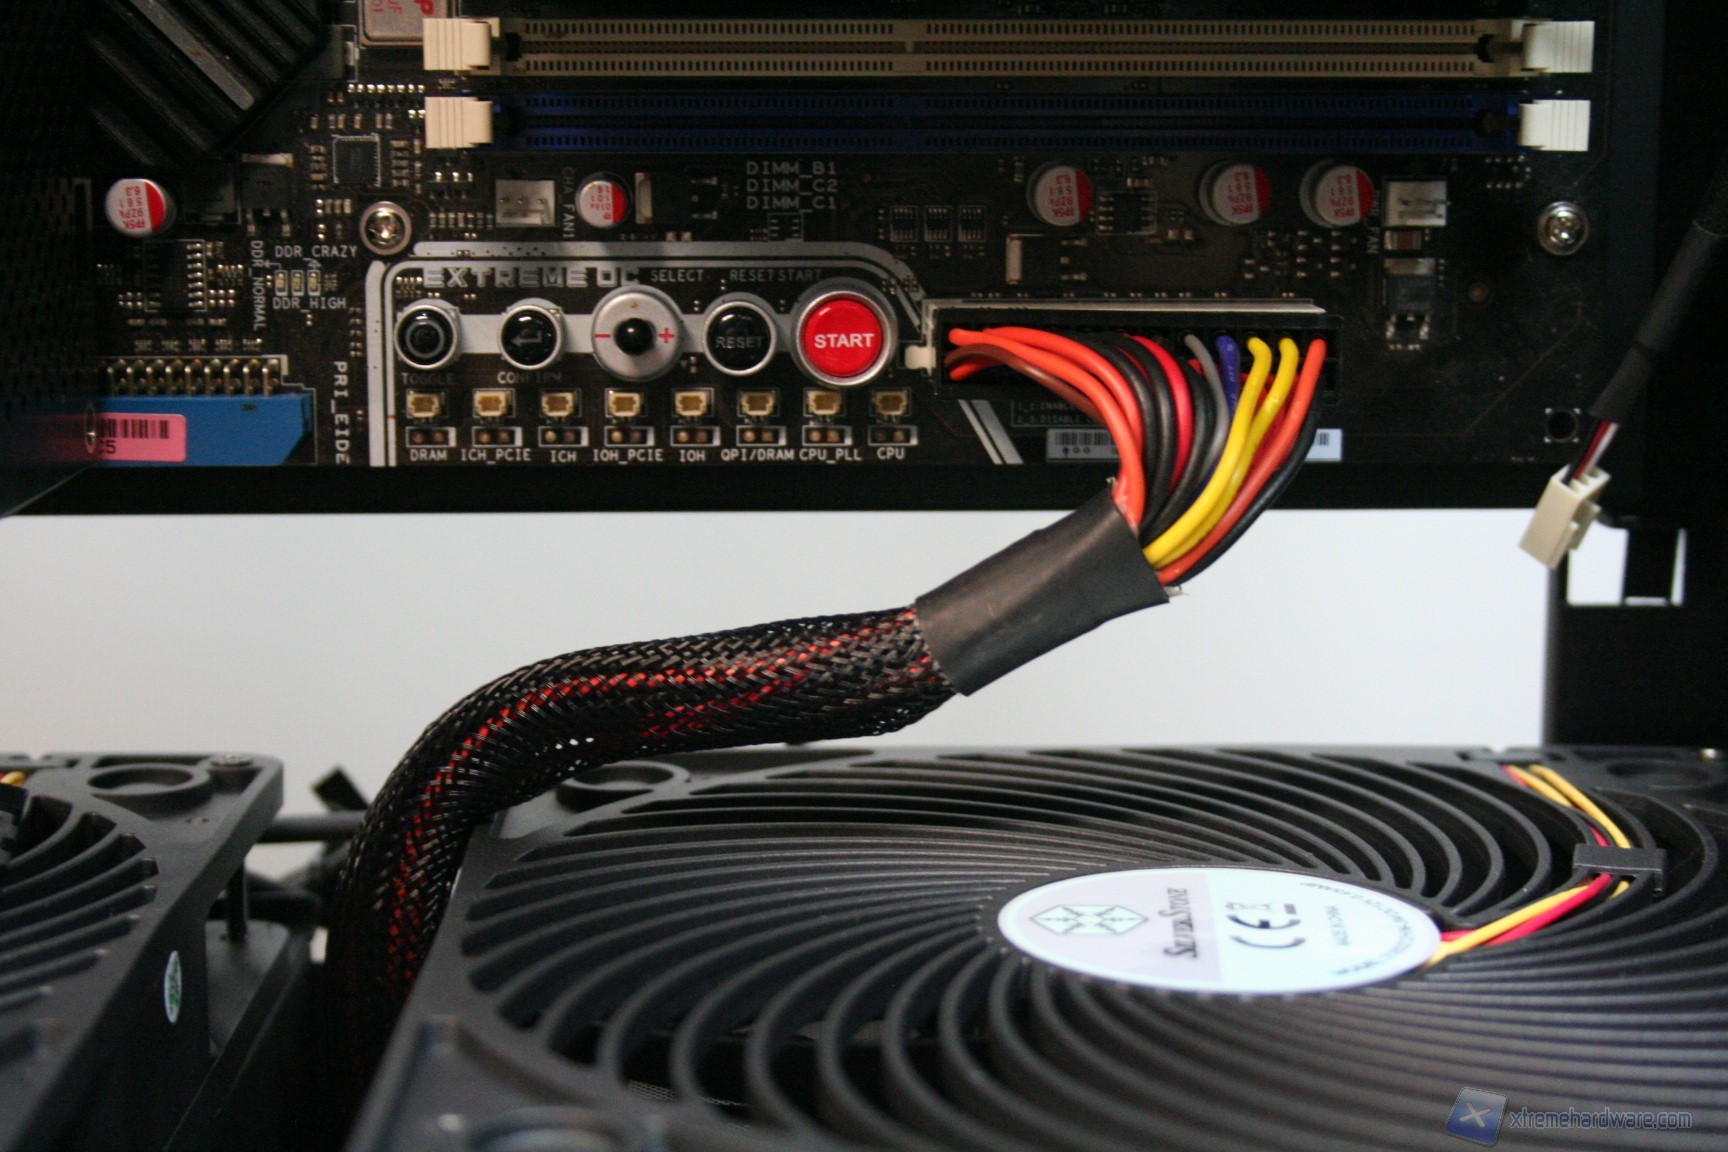
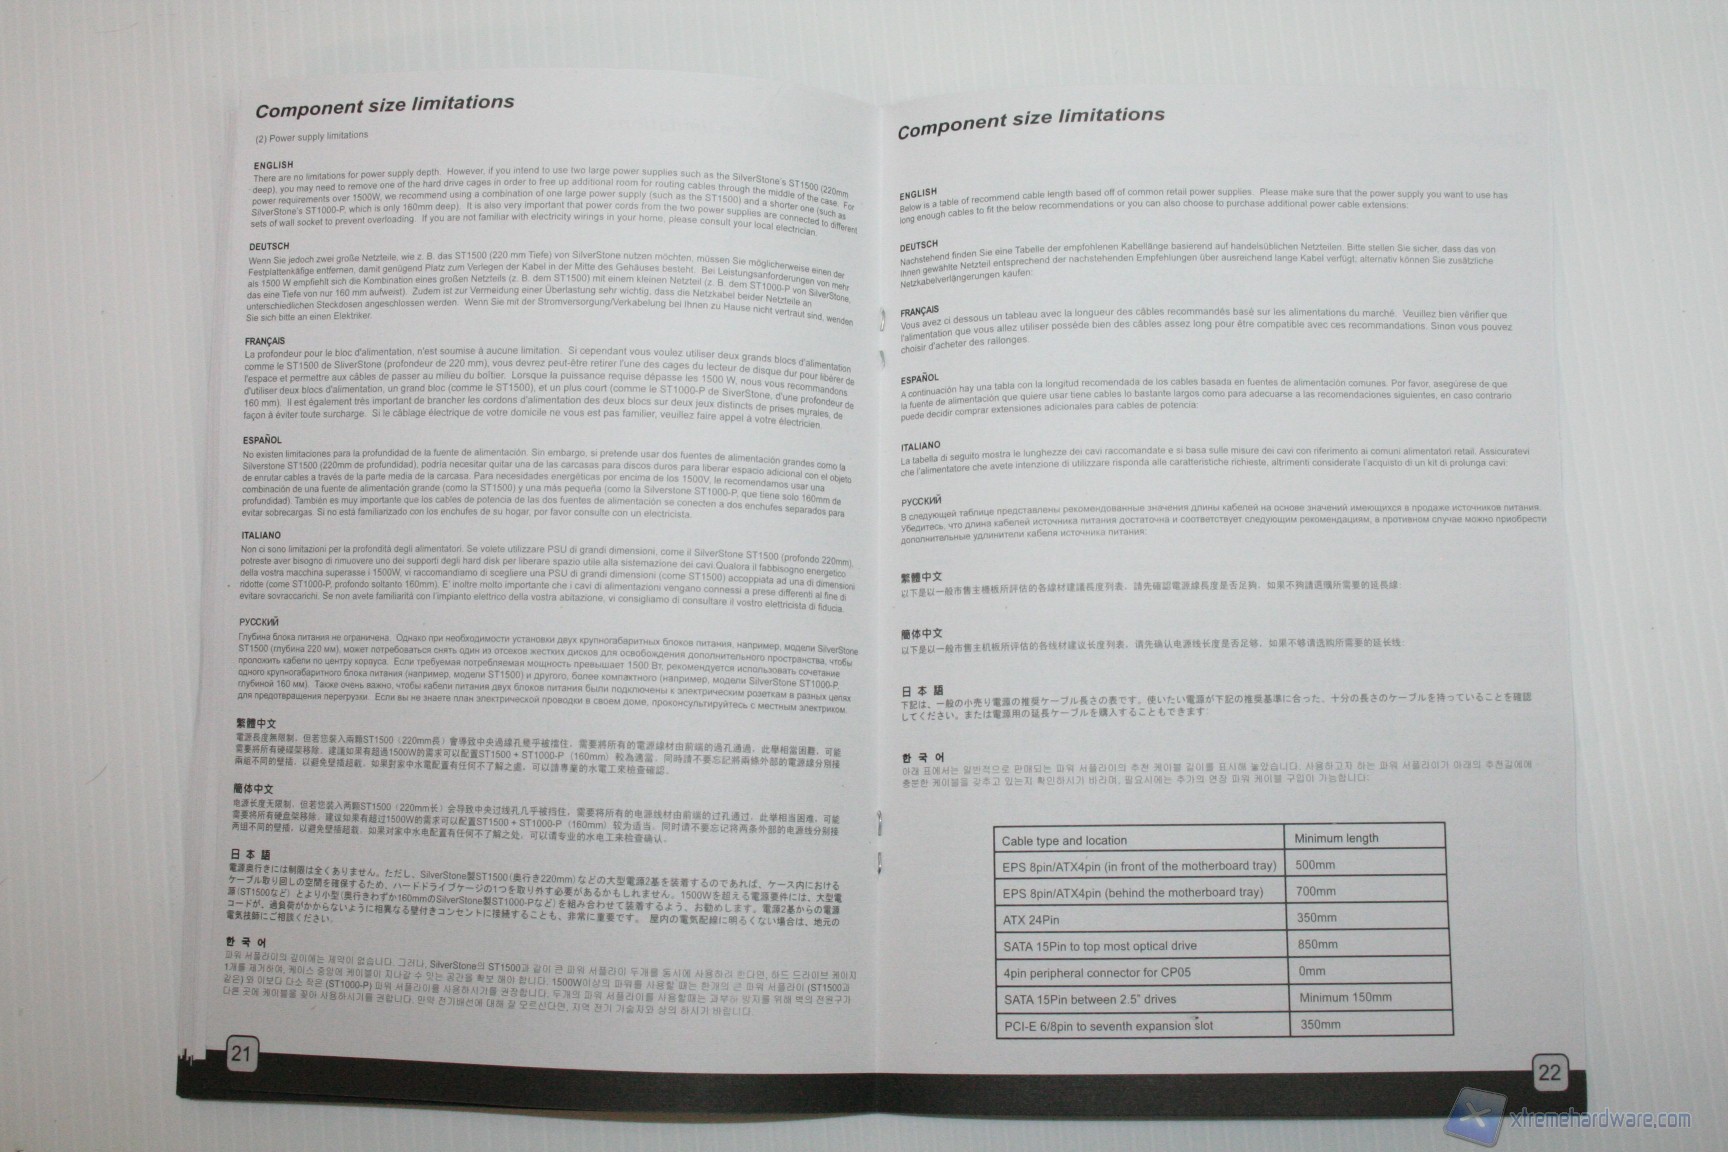
In the last picture we show a cable extension which can always be useful; it would be appropriate to have at least one of them to be used during the cable management phase: